MediaArtTutorials
Photo Film (Individual)

Goal
Create a 30-second black-and-white photo film composed entirely of still photographs, organized into a observational micro-narrative.
You will work in pairs during class time for support and feedback, but each student must produce and submit an individual work.
❗ Attendance and engagement are part of the rubric.
You are expected to work actively during class time and participate in all in-class activities.
Project Overview
- Camera Mode: - Aperture Priority (Av)
- Format: 30-second photo film (still images only)
- Images: Approximately 10–18 photographs
- Narrative type: Observational / micro-narrative
- Location: Any McMaster campus location, during class time only
- Collaboration: Work in pairs, submit individually
- Dialogue: Not allowed
- Video footage: Not allowed (stills only)
Examples
La Jetée (1962), by Chris Marker
→ A canonical still-image film that constructs a powerful narrative entirely through sequencing, pacing, and voice-over, with almost no motion.
▶️ Full Movie
Año Uña (2010), by Jonás Cuarón
→ A photo-based film where rhythm and narrative emerge through uneven timing of still images, everyday observation, and post-hoc narrative construction.
▶️ Movie Trailer
▶️ Año Uña Clip - Diego’s Toenail
▶️ Año Uña Clip - Molly & Diego On The Beach
Olga Karlovac (Dubrovnik, Croatia)
→ Olga uses her camera to capture fleeting moments and emotions. Working exclusively in black and white, predominantly after dark and in rainy conditions, her abstracted images blur the lines between figuration and visual poetry.
🌐 Artist’s Website
🌐 Google Images
Activities
Complete the following in order. Ask the professor or TAs for support or feedback.
- 1. Brainstorming & Sketching
- 2. Photographing
- 3. Post-Production: Edit Photographs in Photoshop
- 4. Post-Production: Assemble in Premiere Pro
1. Brainstorming & Sketching [20 min]
Use the PDF worksheet below to:
- Develop a simple observational micro-narrative or idea that can be completed on campus
An Observational micro-narrative does not require a traditional beginning–middle–end storyline. Instead, you may focus on mood, atmosphere, or the gradual revealing of a character’s presence or situation through the sequence of photographs.
- Create 3–5 visual frame-moods (rough sketches or notes)
- Treat sketches as a starting point, not a fixed script. Remain open to discovery during shooting
📄 Download / View Brainstorming & Sketching Worksheet (PDF)
If you use the physical version of this Worksheet, you must scan or take an image of each page and combine them into a PDF file.
You can use a simple Word document for this process.
Optional: https://www.ilovepdf.com/ - Choose: JPG to PDF.
Submission
- ➡️ Export as PDF
- 📄 Filename:
Name-Lastname-Brainstorming.pdf
2. Photographing [60 min]
During this phase, you will photograph your sequence on campus, applying the technical and conceptual tools introduced in Week 1.
Check: W1 - Tech Walkthrough - Intro to DSLR Photography for Photo Film Activity.
Notes to keep in mind:
- Set your aperture first. Start with ISO 100. If the camera selects a shutter speed that is too slow for a stable image, gradually increase the ISO.
- In Aperture Priority (Av) mode, the camera automatically sets the shutter speed based on your aperture choice and the lighting conditions.
- A wider aperture (lower f-number) results in a faster shutter speed, while darker lighting conditions result in a slower shutter speed.
Photographing Requirements
- Camera Mode: - Aperture Priority (Av)
- Photographs are captured in colour and converted to black and white in post-production
- All photographs must be completed during class time
- Images must be static stills (no video or motion capture)
- Shoot in landscape
- Use at least:
- 3 different standard shot sizes (excluding Extreme Long Shot)
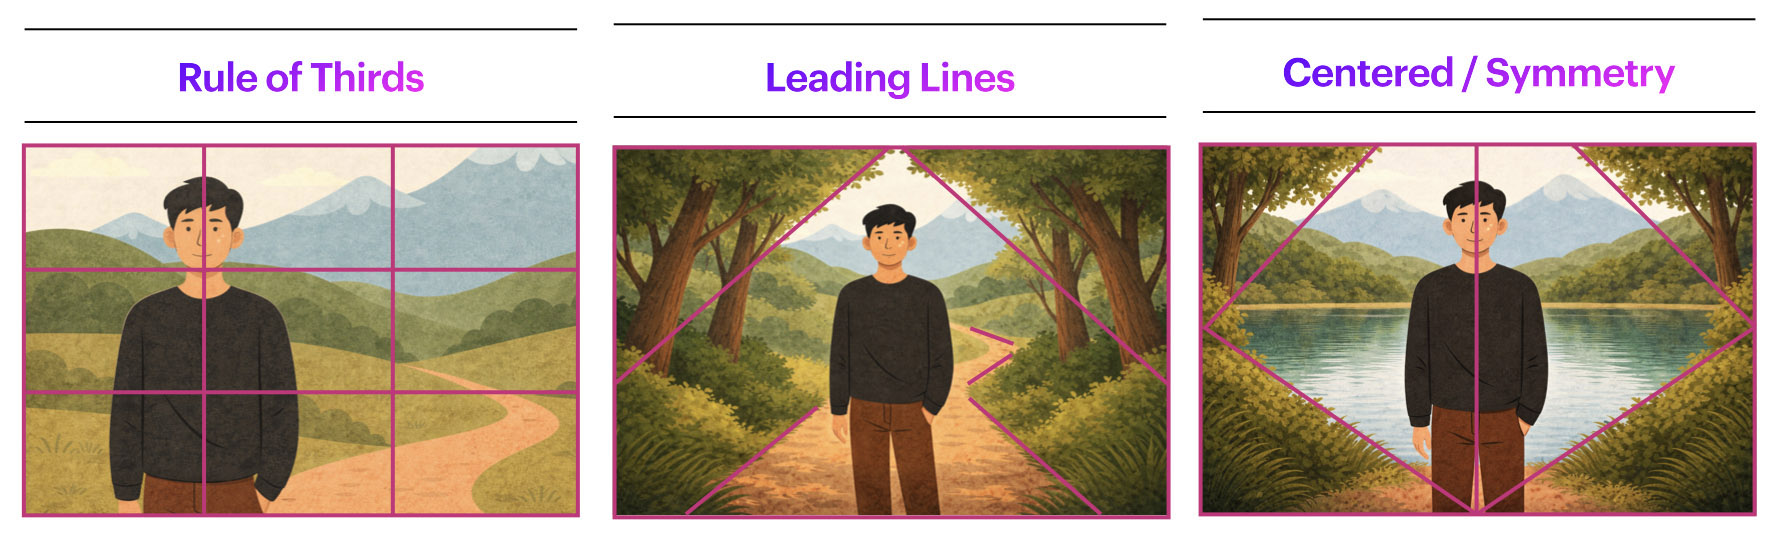
- 1–2 compositional frameworks
- Work with depth of field
- Tripod-based recommended
Working in Pairs
- Work with your partner for support and feedback
- You may appear in your partner’s images
- Bodies and faces are allowed
- Faces of strangers should be avoided
Be mindful of shared spaces and respect others while photographing on campus.


Create Your Photo Grid (For Submission)
After shooting (and before the next step), prepare a contact-sheet style PDF of your selected images.
- Select your final sequence of images (10–18 photographs)
- Paper size: Letter (11 × 8.5 in)
- Orientation: Landscape
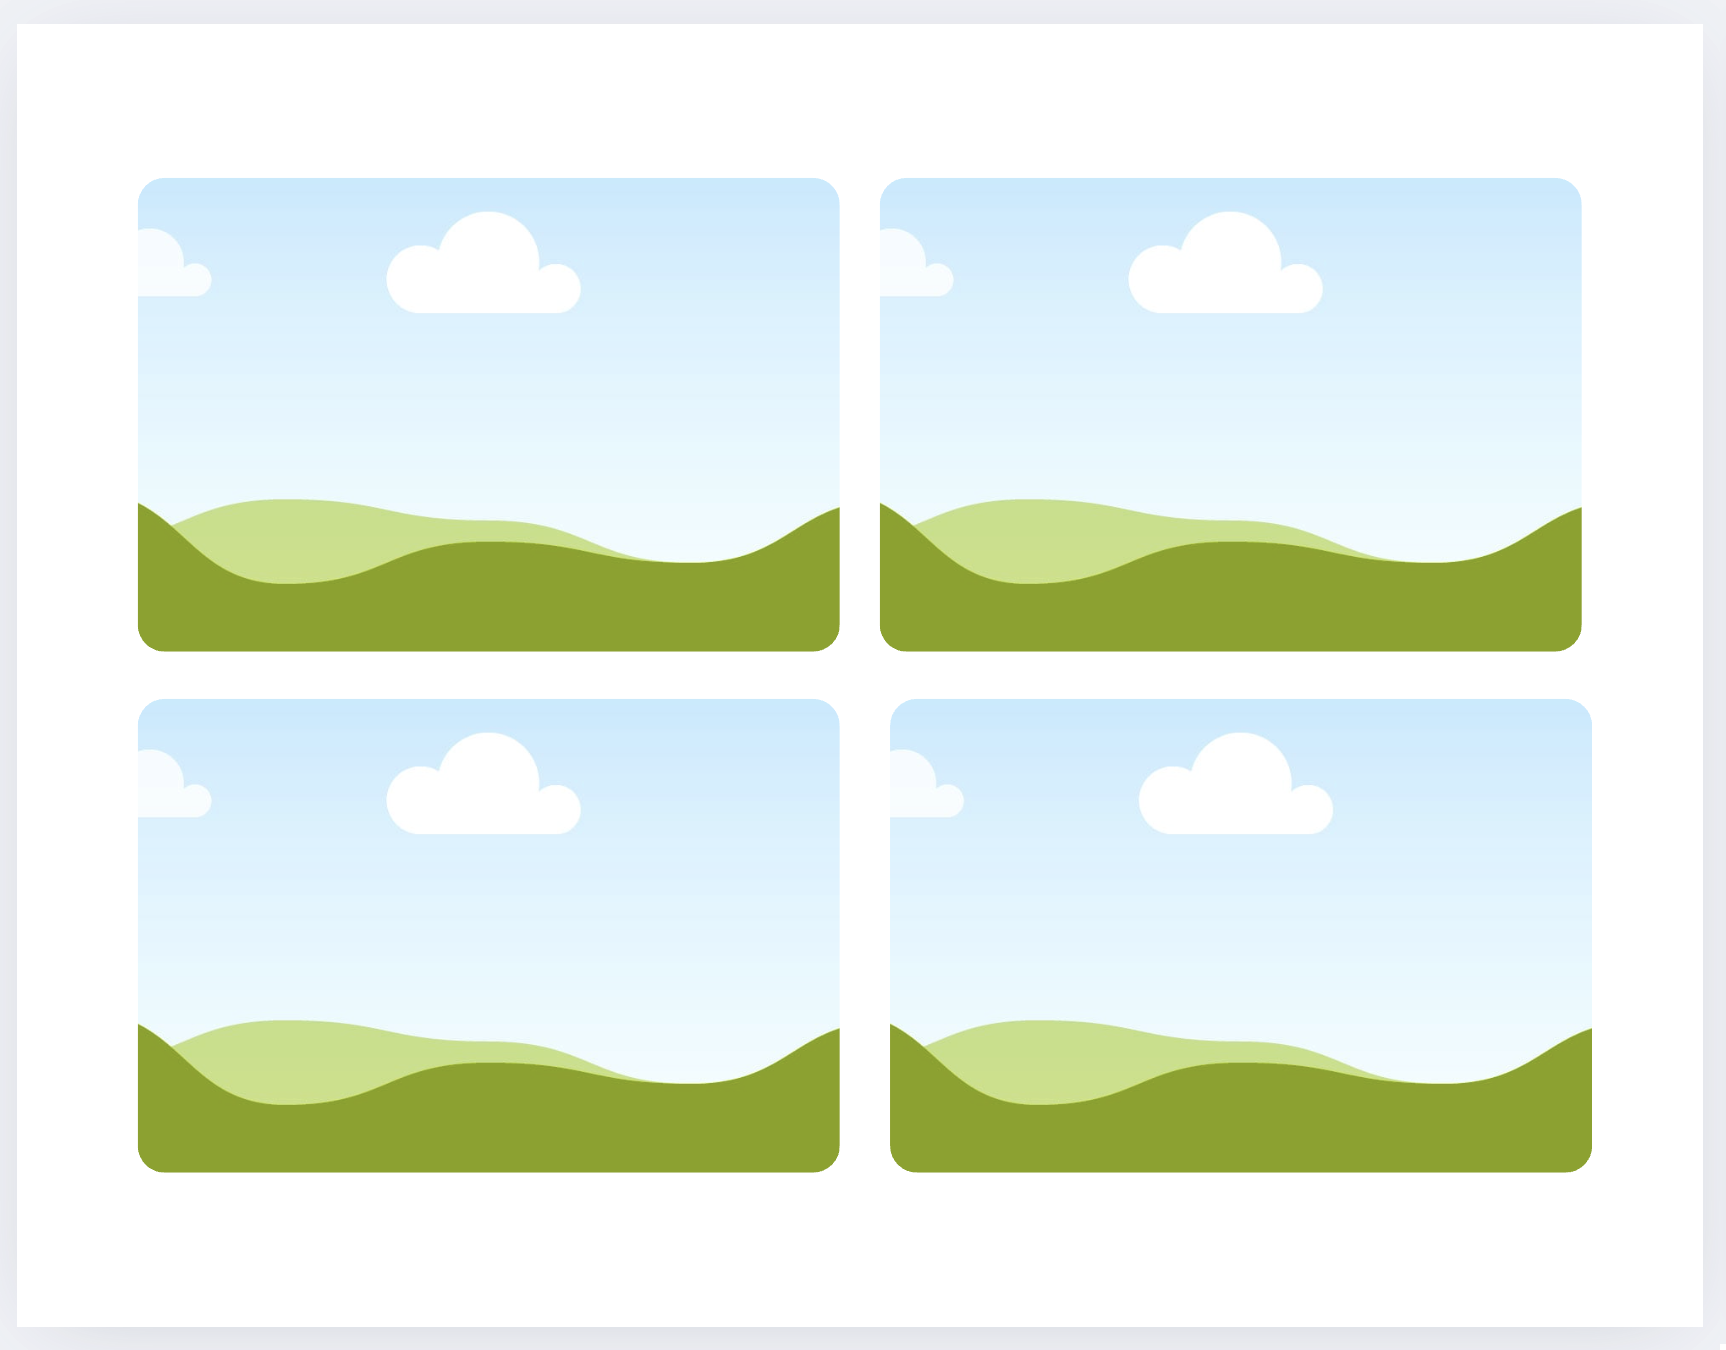
- Arrange images in a 2 × 4 grid per page
- Use: PowerPoint, Word, Canva, Pages, or Keynote
Submission
- ➡️ Export as PDF
- 📄 Filename:
Name-Lastname-Photos.pdf
3. Post-Production: Edit Photographs in Photoshop [60 min]
Check: W1 - Tutorials - Photoshop Fundamentals
Follow the tutorials to:
- Convert selected images to black and white
- Adjust exposure and contrast
- Maintain visual consistency across the sequence
- Save edited images as PNG or TIFF for Premiere Pro sequencing
🚫 Do not crop, retouch, apply filters, or add effects at this stage.
Group Image Analysis [4:00 PM – 4:25 PM]
Before 4:00 PM (Preparation Required)
- Select one photograph from your shoot
- Convert it to black and white
- Make basic exposure and contrast adjustments
- Upload it to your assigned group link:
Group Assignments & Location
- A printed list with groups and room assignments will be placed at the Computer Lab entrance
- Each group will work with an assigned TA or the instructor in a designated classroom
❗ You must arrive at your assigned room at least 5 minutes before 4:00 PM
All students should be ready to begin at 4:00 PM sharp
During the Analysis Session
- The TA/instructor will randomly select images from the uploaded submissions
- Images will be discussed collectively, focusing on:
- Framing
- Composition
- Shot size
- Visual balance and structure
- Students are expected to actively contribute to the discussion
❗ Attendance and engagement during this activity are part of the rubric.
4. Post-Production: Assemble in Premiere Pro [Begin in Class]
Check: W1 - Tutorials - Premiere Pro Fundamentals
Using your selected 10–18 photographs, follow the tutorials to assemble your Photo Film.
- Resolution: 1920 × 1080
- Import still images and sequence images considering rhythm and pacing
- Total duration: 30 seconds
- Add:
- Music or silence (see sound restrictions below)
- A simple title and credits
- Allowed transitions:
- Jump cuts
- Fade in / fade out
- Cross overs (simple/subtle temporal overlap between still images)
🚫 Do not use colour correction, filters, visual effects, motion animation, or stylized transitions.
➡️ Export as MP4
Codec: H.264
📄 Filename: Name-Lastname-PhotoFilm.mp4
Sound
- Music is required, or silence may be used if conceptually justified
- Instrumental or ambient sound only (no lyrics)
- No sound effects
- Sound should support pacing and rhythm, not dominate the sequence
- Only royalty-free audio. Options:
- Freesound.org — Ambient sounds, drones, textures, and minimal audio
- Free Music Archive (FMA) — Instrumental and experimental music (check licenses)
- Pixabay Music — Royalty-free instrumental tracks
- Mixkit — Short, clean instrumental music
- YouTube Audio Library — Free instrumental music and ambient tracks
Project Info PDF
Create a one-page document including:
- One representative still image
- Title
- Year
- Author
- 3/4-line artistic description
➡️ Export as PDF
📄 Filename: Name-Lastname-PhotoFilm.pdf
📤 Submission
| Item | Required Filename |
|---|---|
| Brainstorming PDF | Name-Lastname-Brainstorming.pdf |
| Photo Contact Sheet PDF | Name-Lastname-Photos.pdf |
| Final Photo Film MP4 | Name-Lastname-PhotoFilm.mp4 |
| Project Description PDF | Name-Lastname-PhotoFilm.pdf |
⚠️ Follow the submission protocols carefully. Incorrect submissions may result in lost points.
Credits: Jessica A. Rodríguez
AI Disclosure:
Microsoft CoPilot and ChatGPT was used for editing and clarity only, as well as to create some to the image visualizations. AI is not used to generate original course content.