documentation-Estuary
| Tutorials | Home |
Temporally importing samples in Estuary
If you have not made your repo a GitHub Page, please follow GitHub: Setup tutorial first.
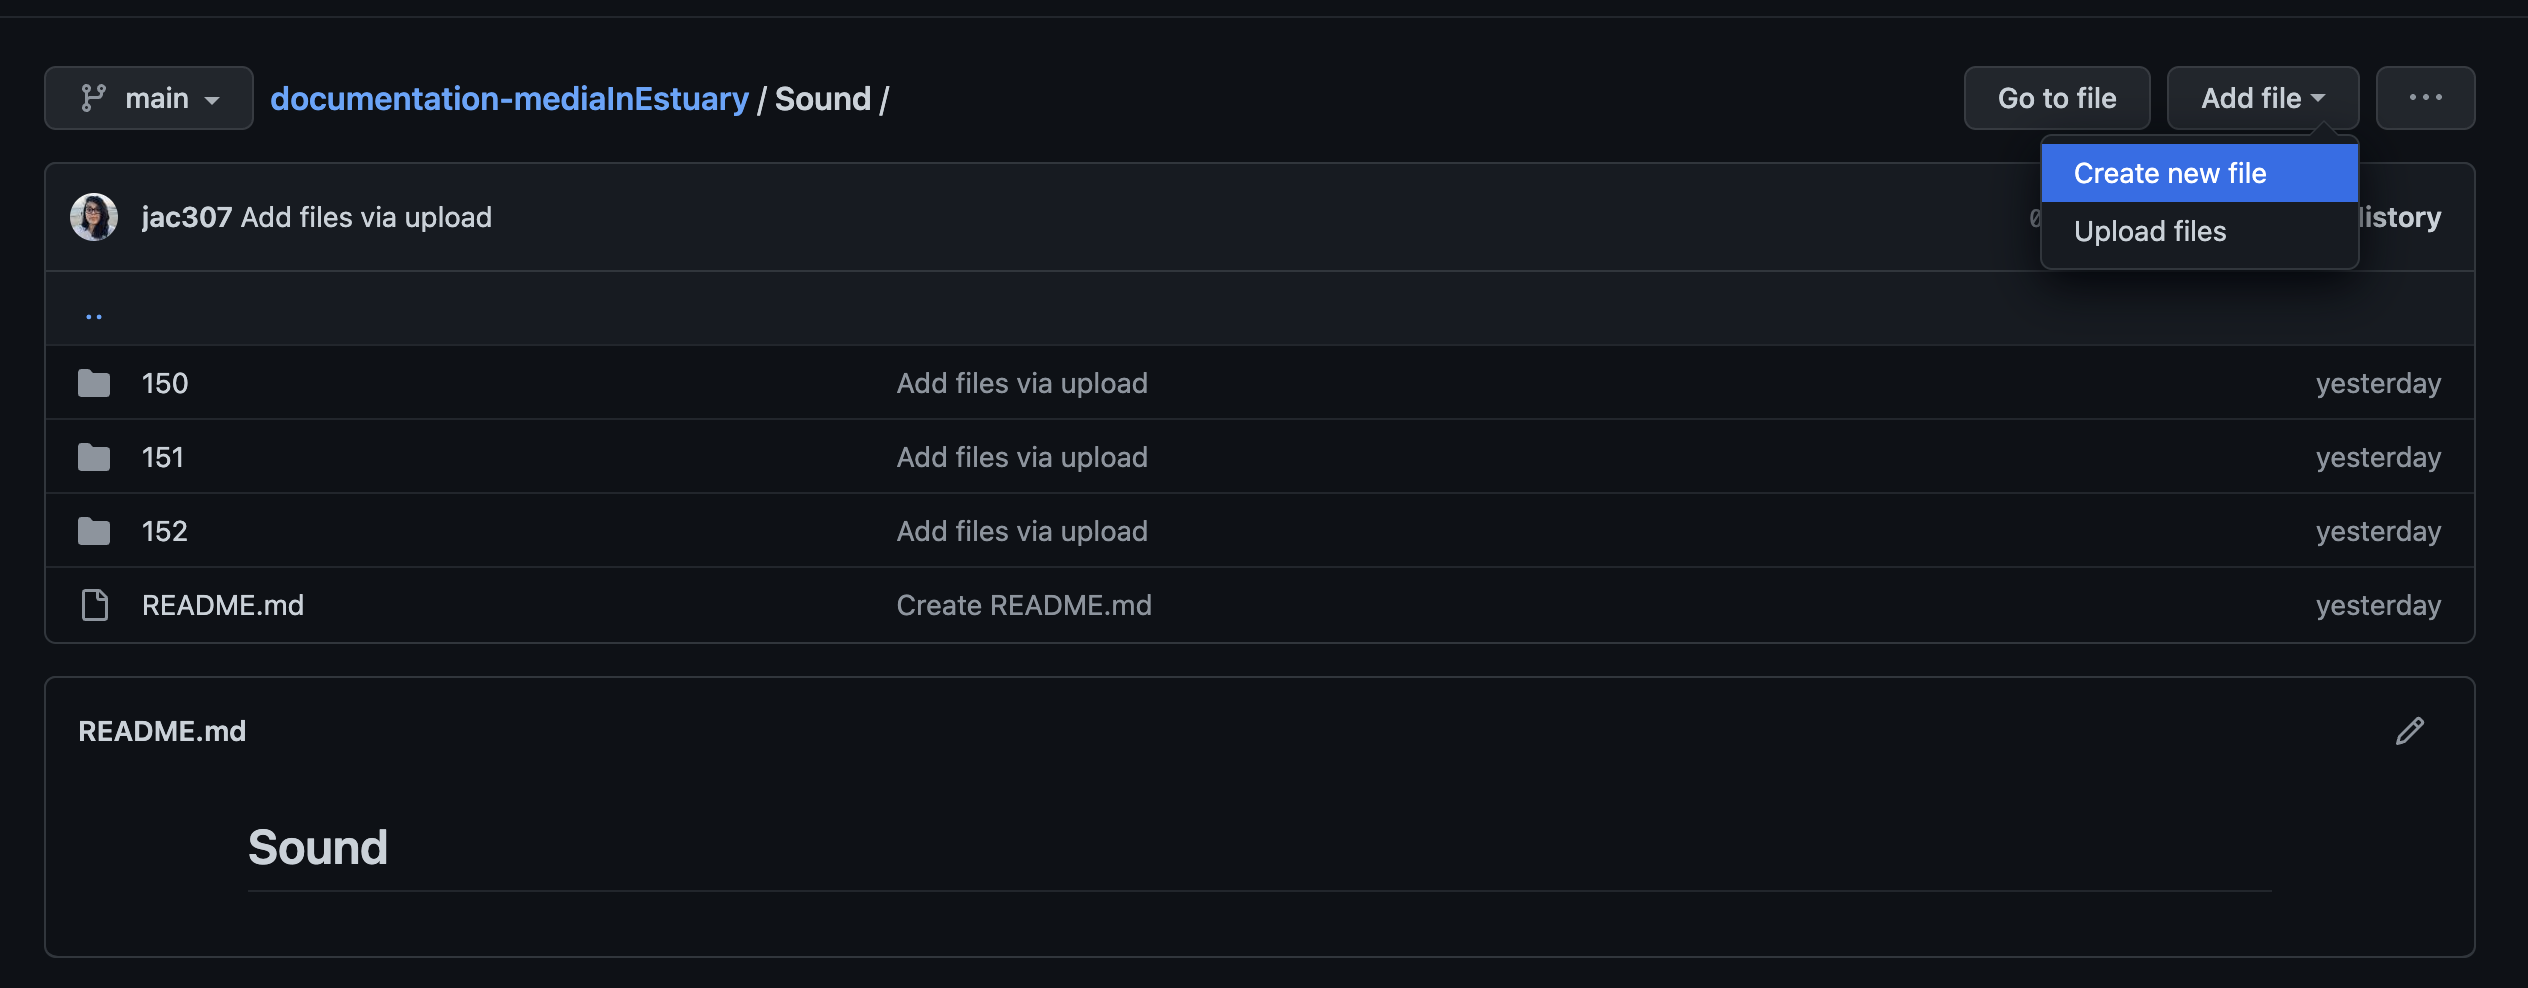
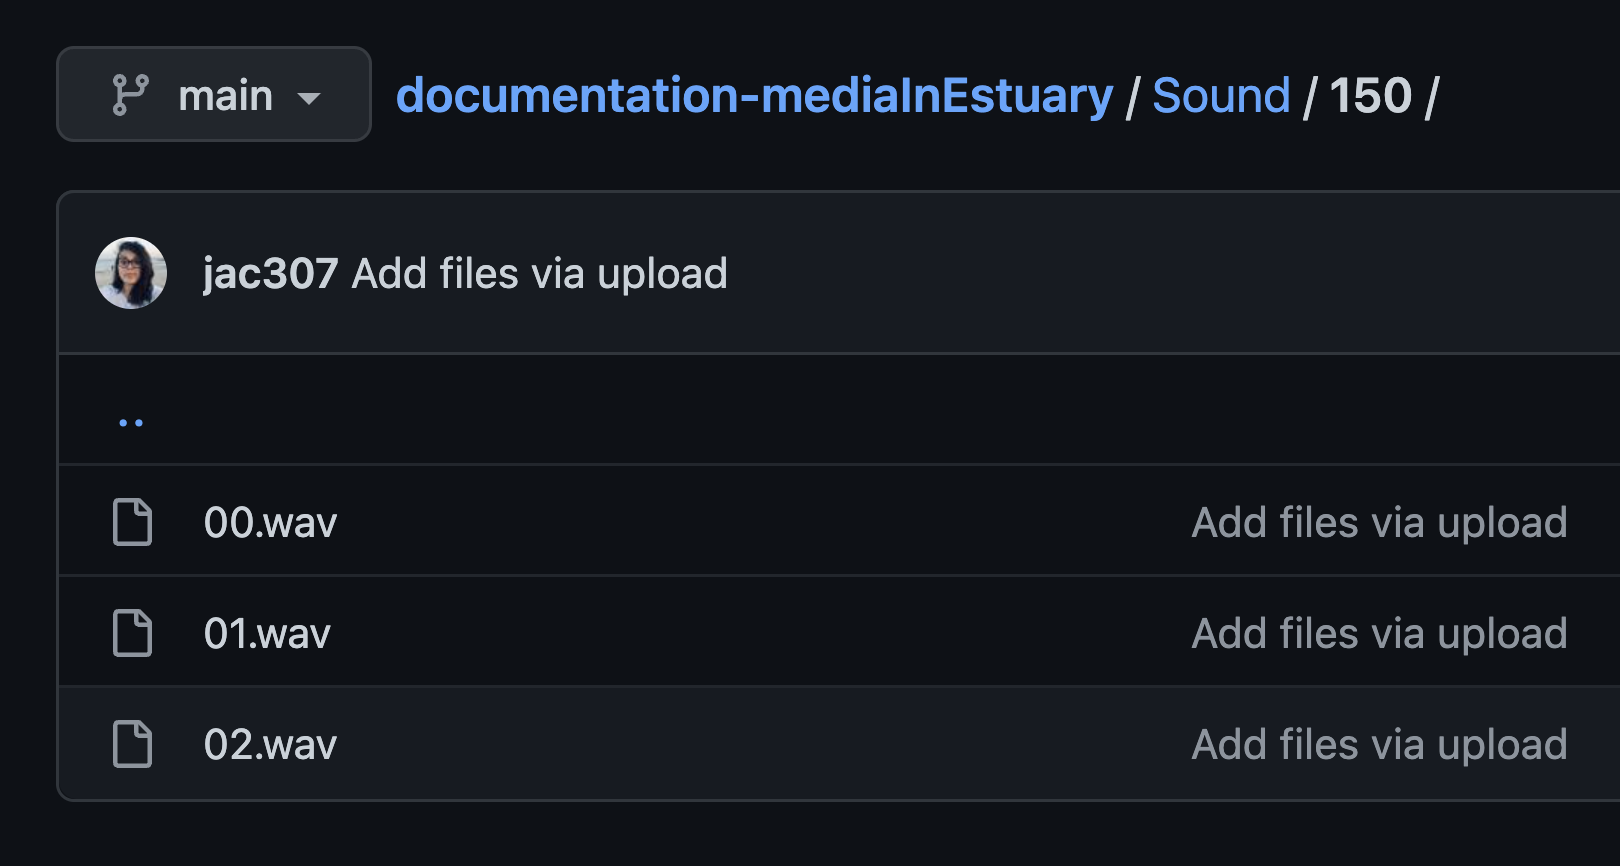
- On your repository, go to the section you have uploaded your sound files.
- Create a new file.
In this example, I have a folder named “Sound” with three sub-folders with different samples.
- Name your file and add the extension “.json”.

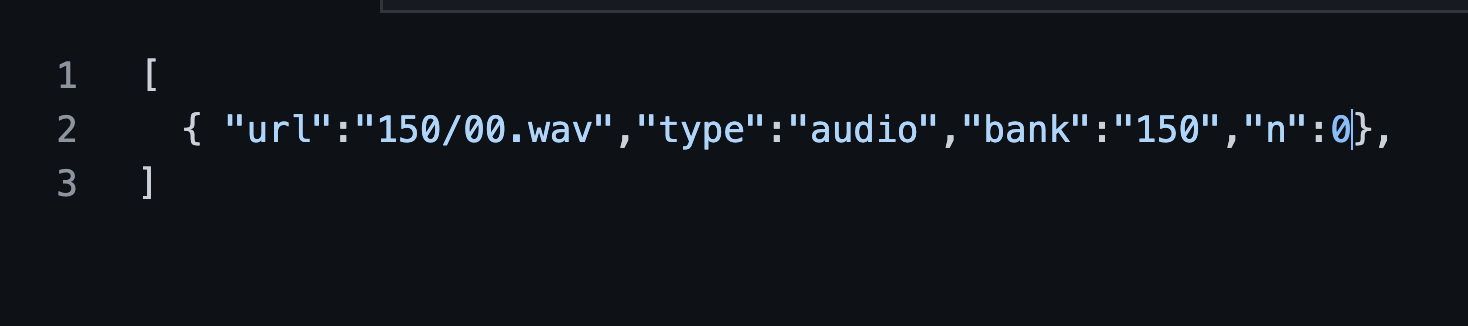
- You will make a list of your sound samples
[].
The sintax is the following: [ { "url":"locationInGitHub","type":"audio","bank":"name-of-the-bank","n":samplesNumber} ].
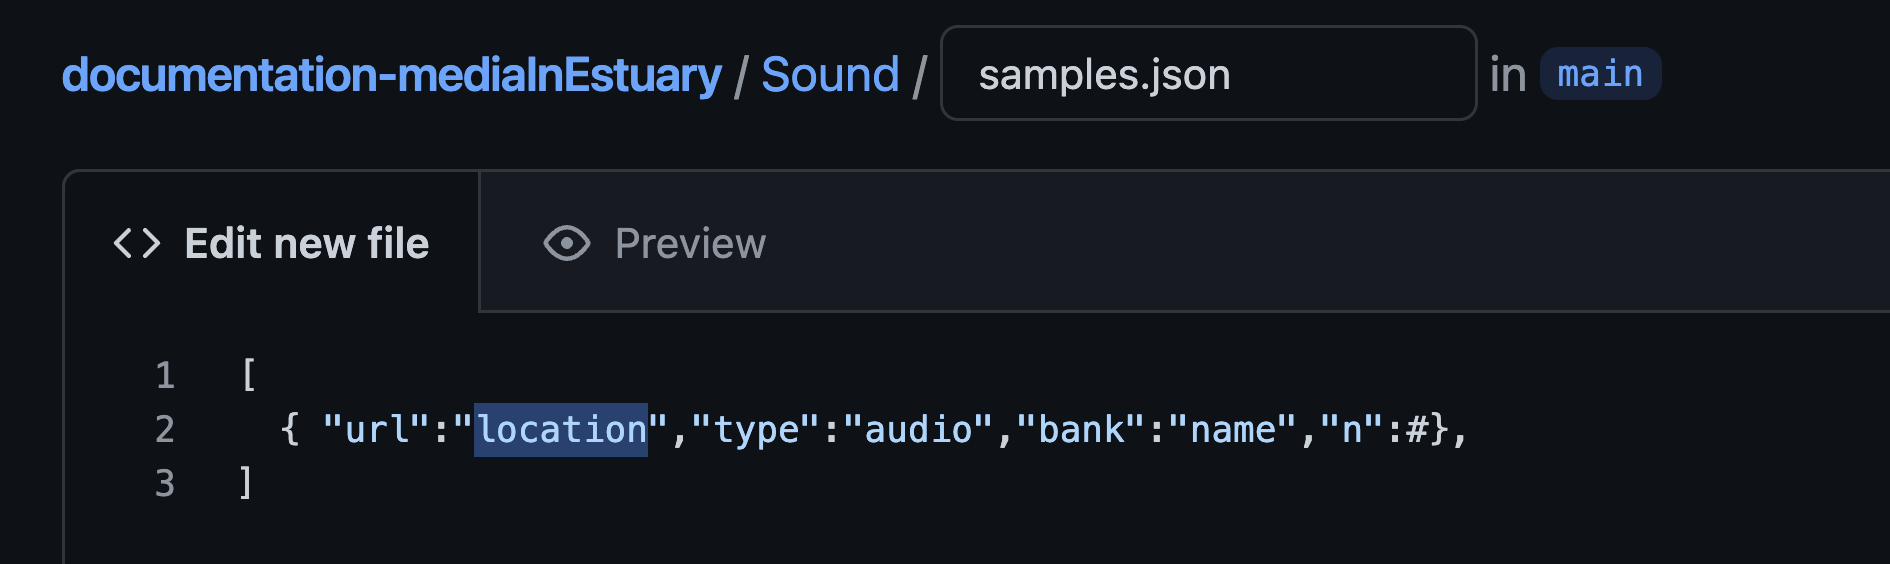
- Write the correct information in those fields.
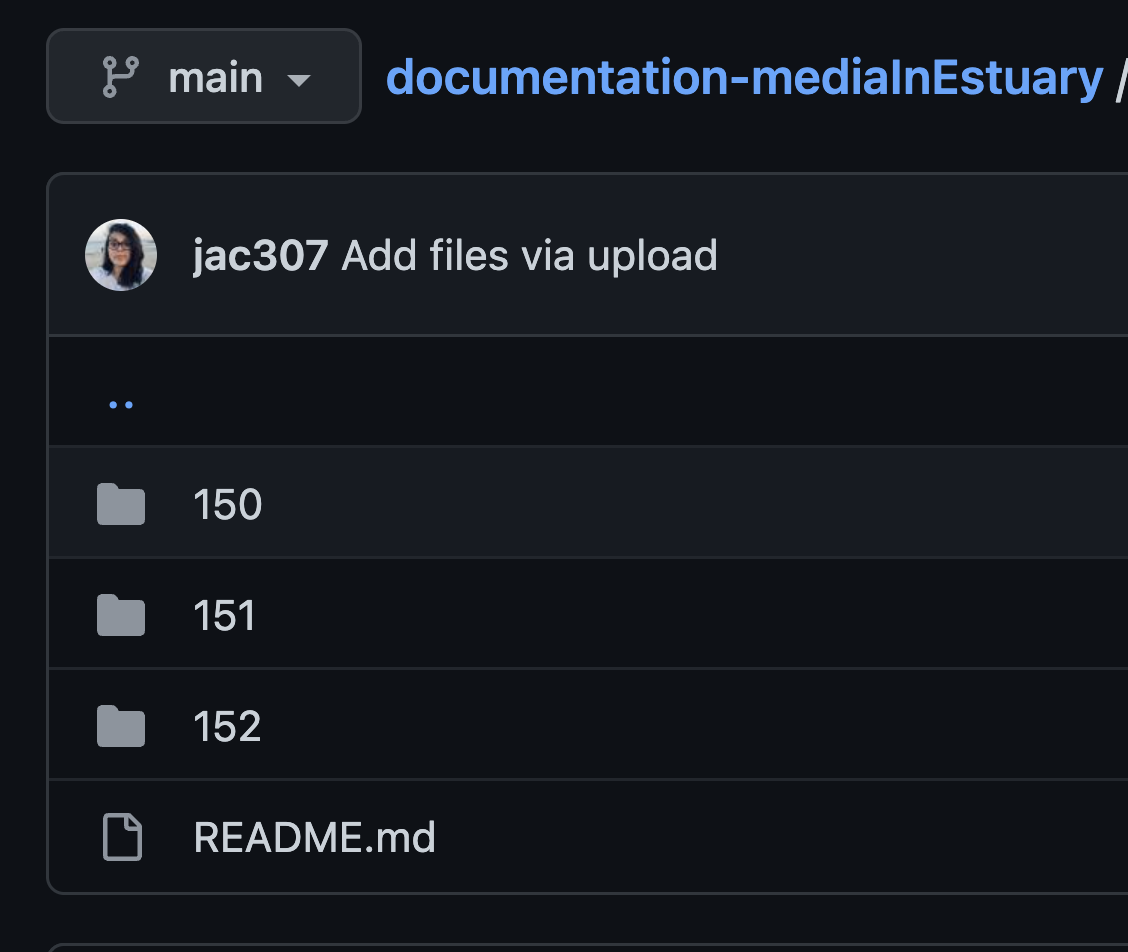
In this example, I have three folders/banks (150, 151, 152) with three sound samples in each folder. The location is "nameOfFolder/file.extension", in name-of-the-bank I am keeping the name of the folder (but this can be different), lastly, samplesNumber should start from 0,1,2…
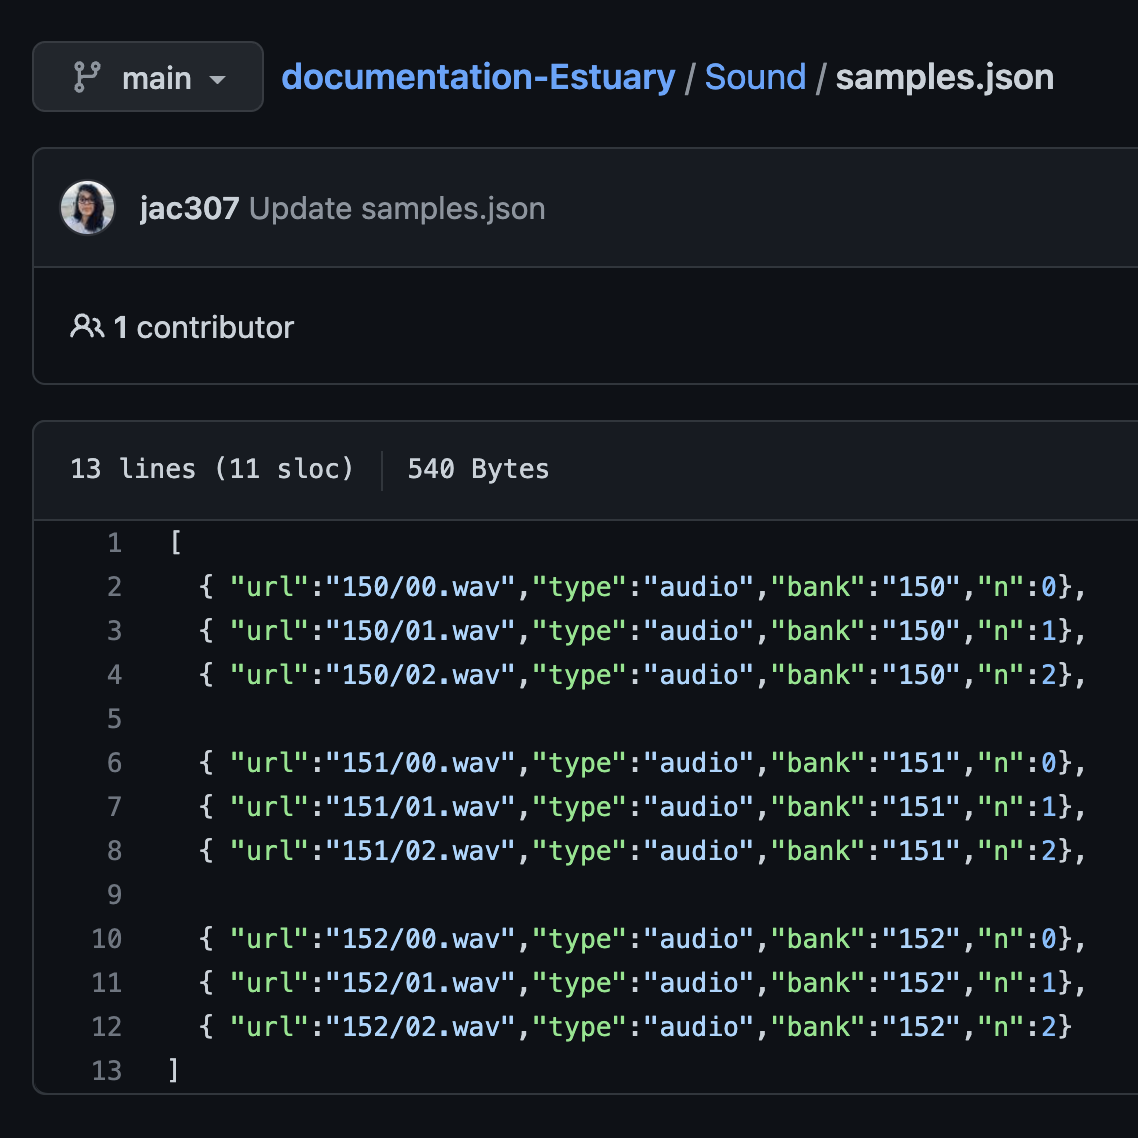
- Add more files if needed separated by commas.
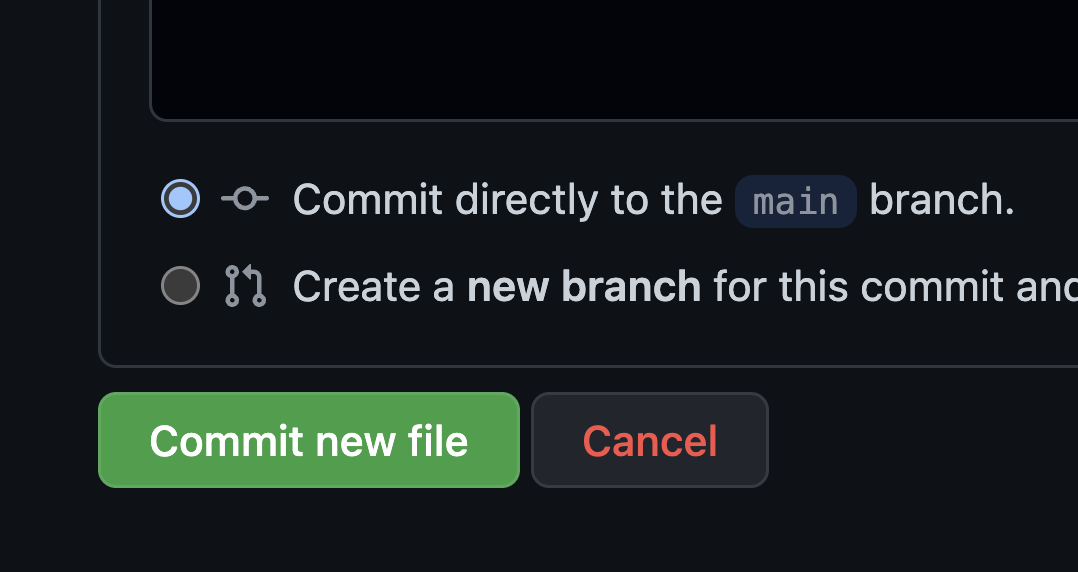
- Press commit at the end of the page.

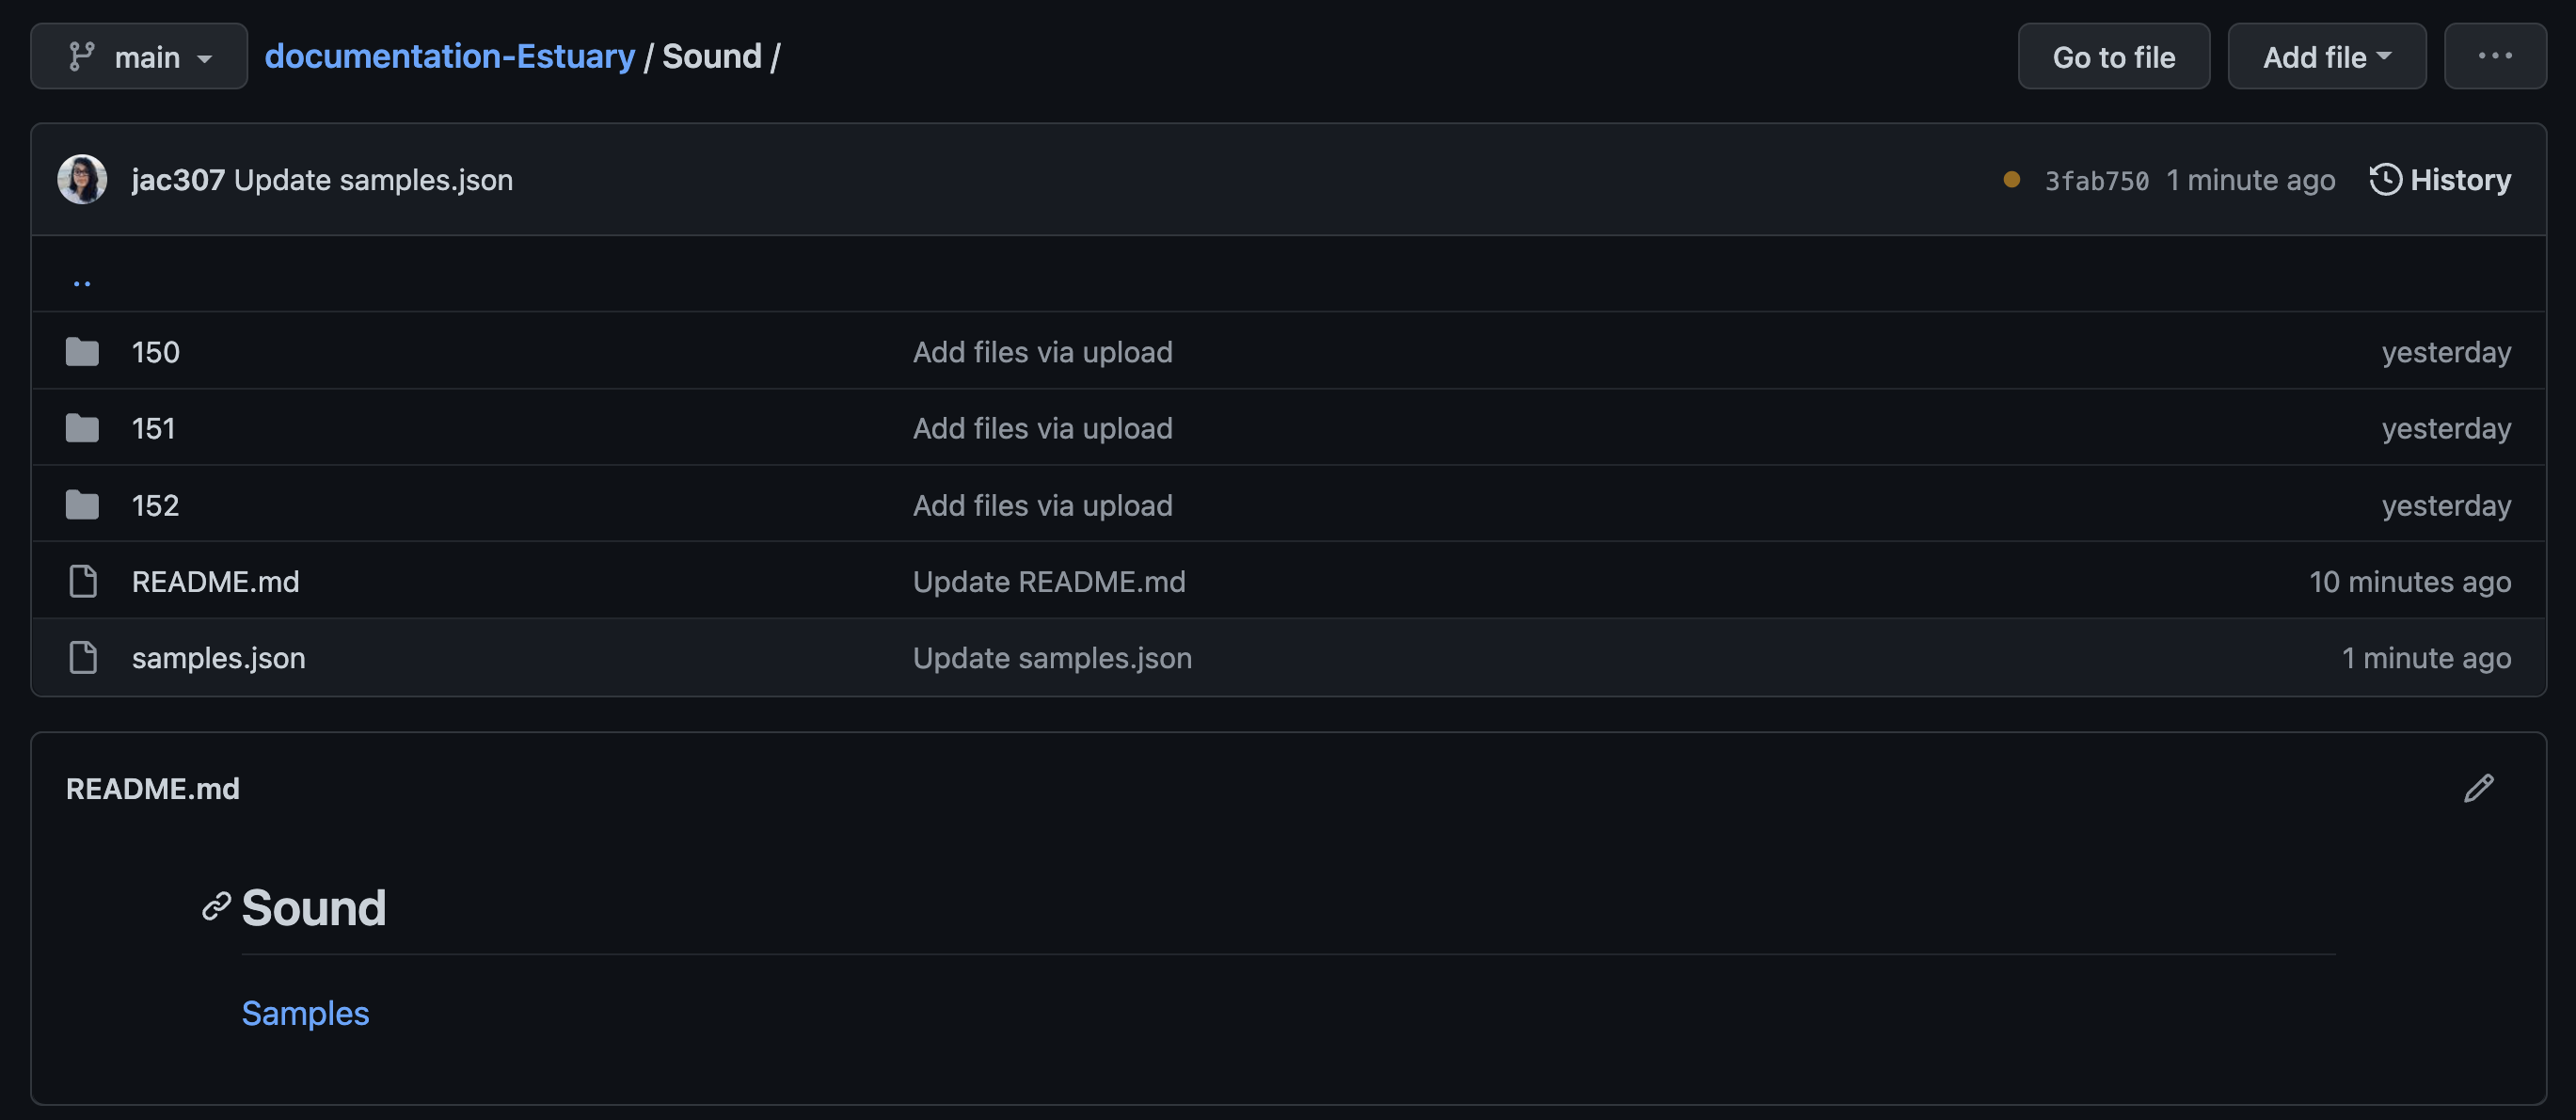
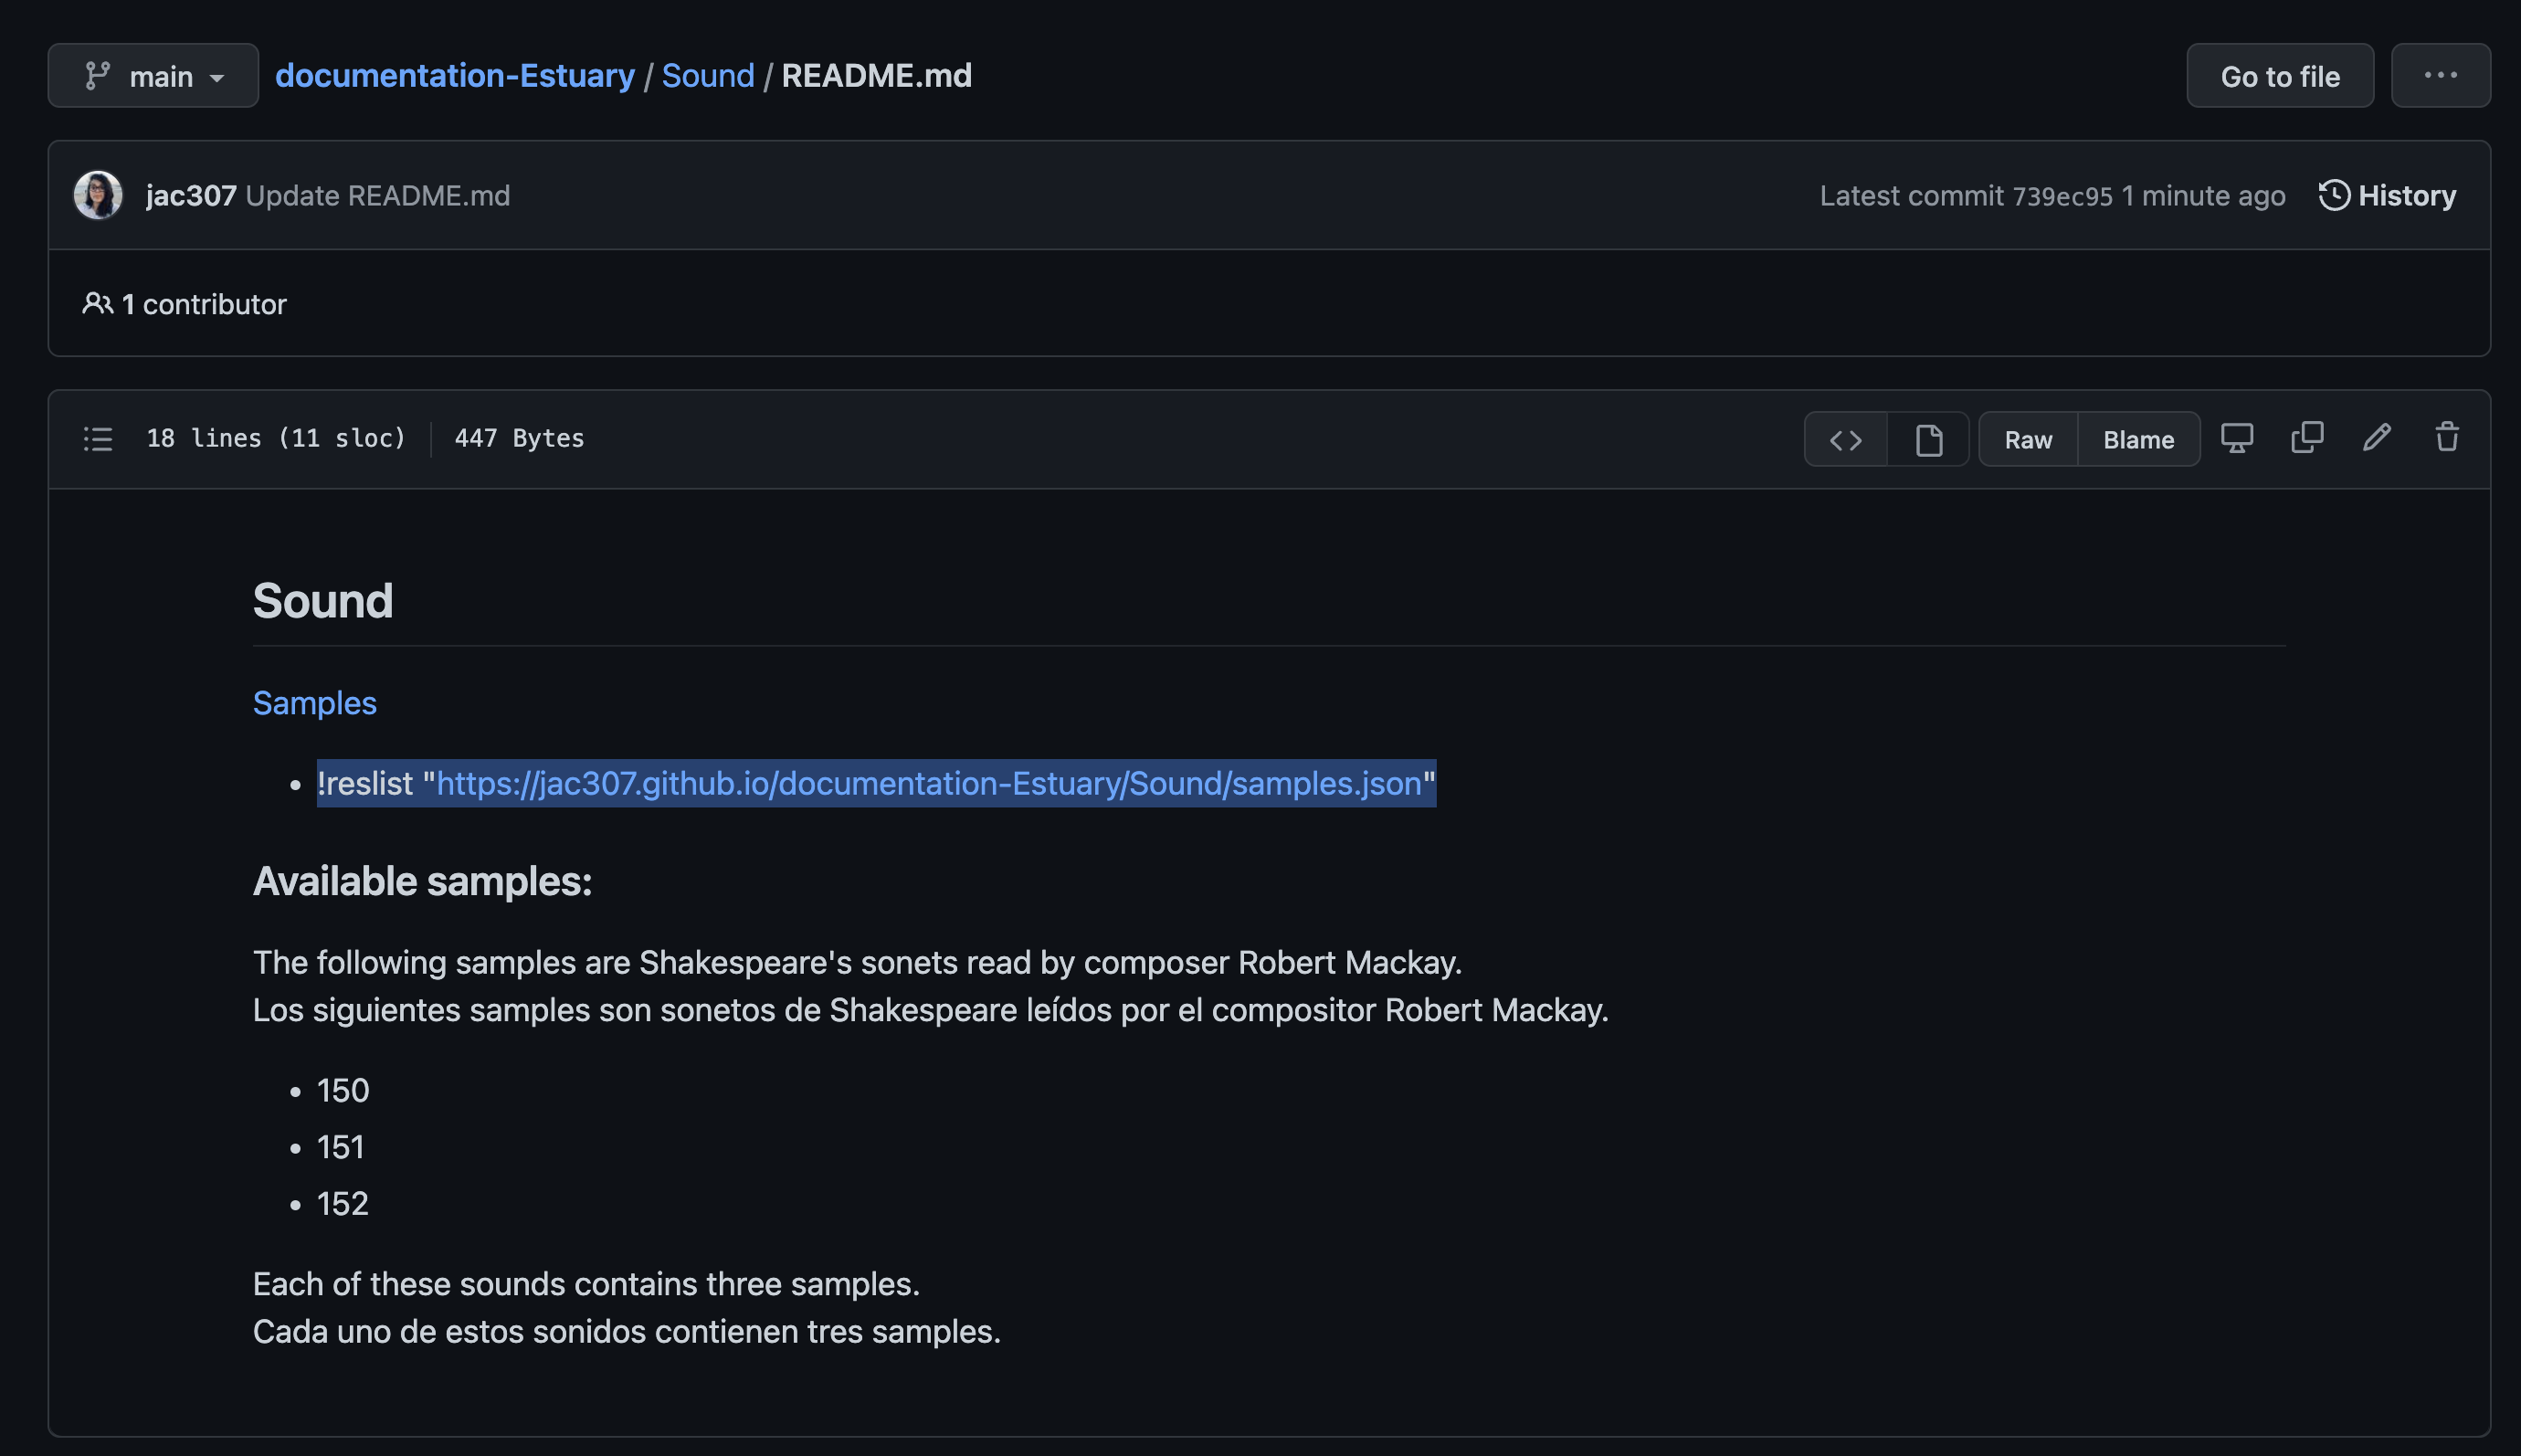
You can see the file now. In this example, I finished adding the information of the other files I have.
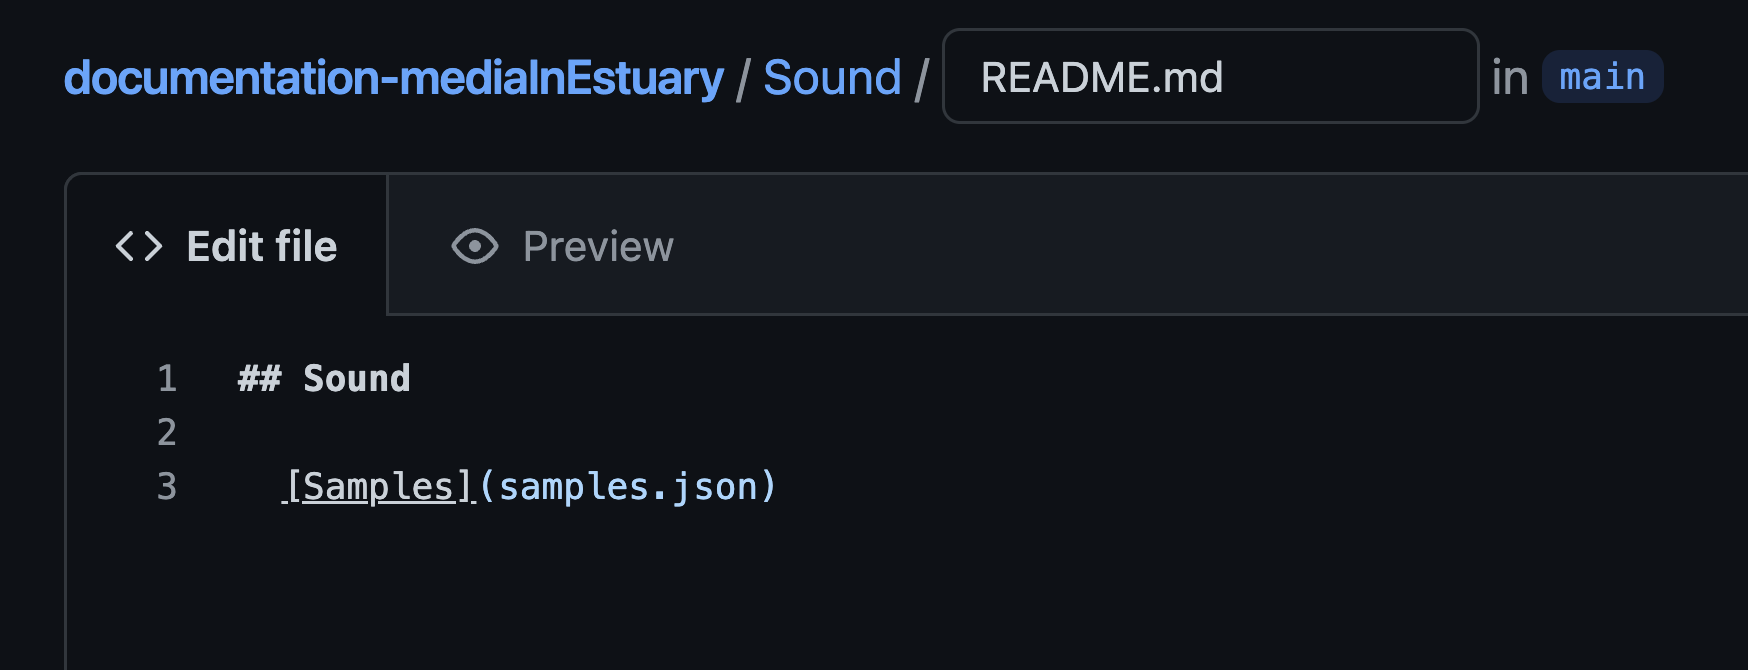
- Go to the folder where you have the new .json file and edit the README.md file there.
- Add a link to the .json file by following this sintax:
[text](url or location-on-GitHub), Commit changes.

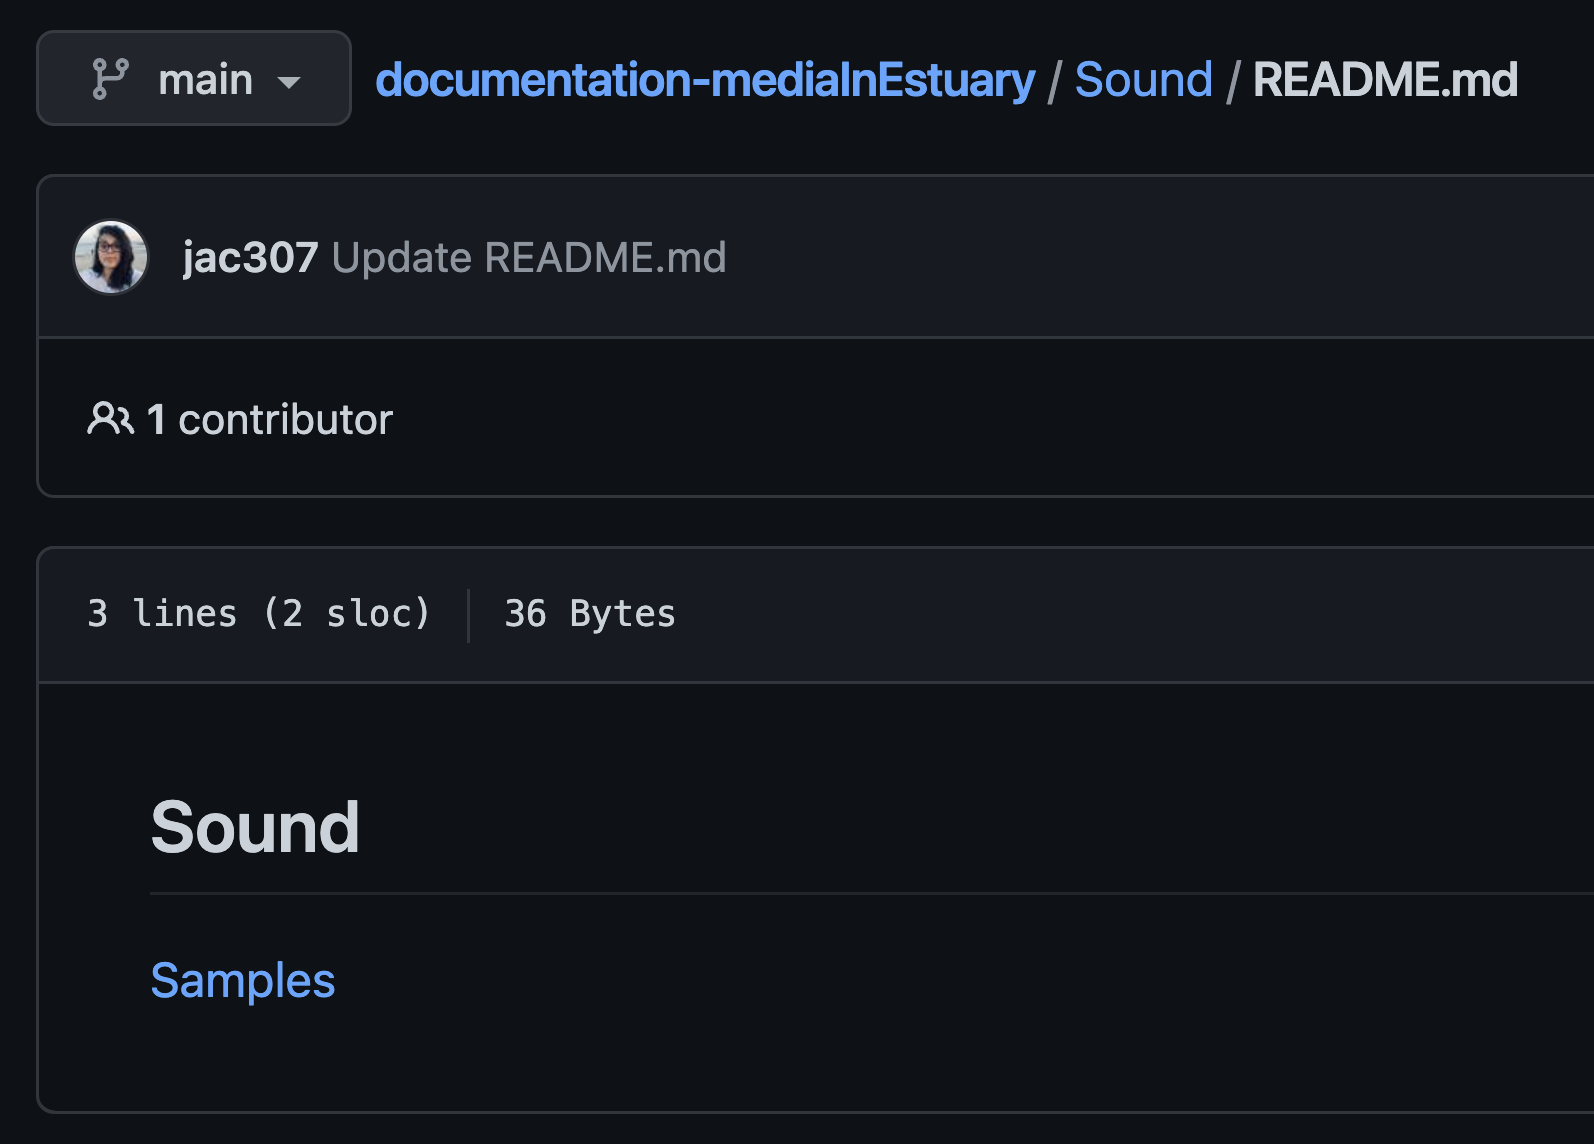
- Confirm the link works.
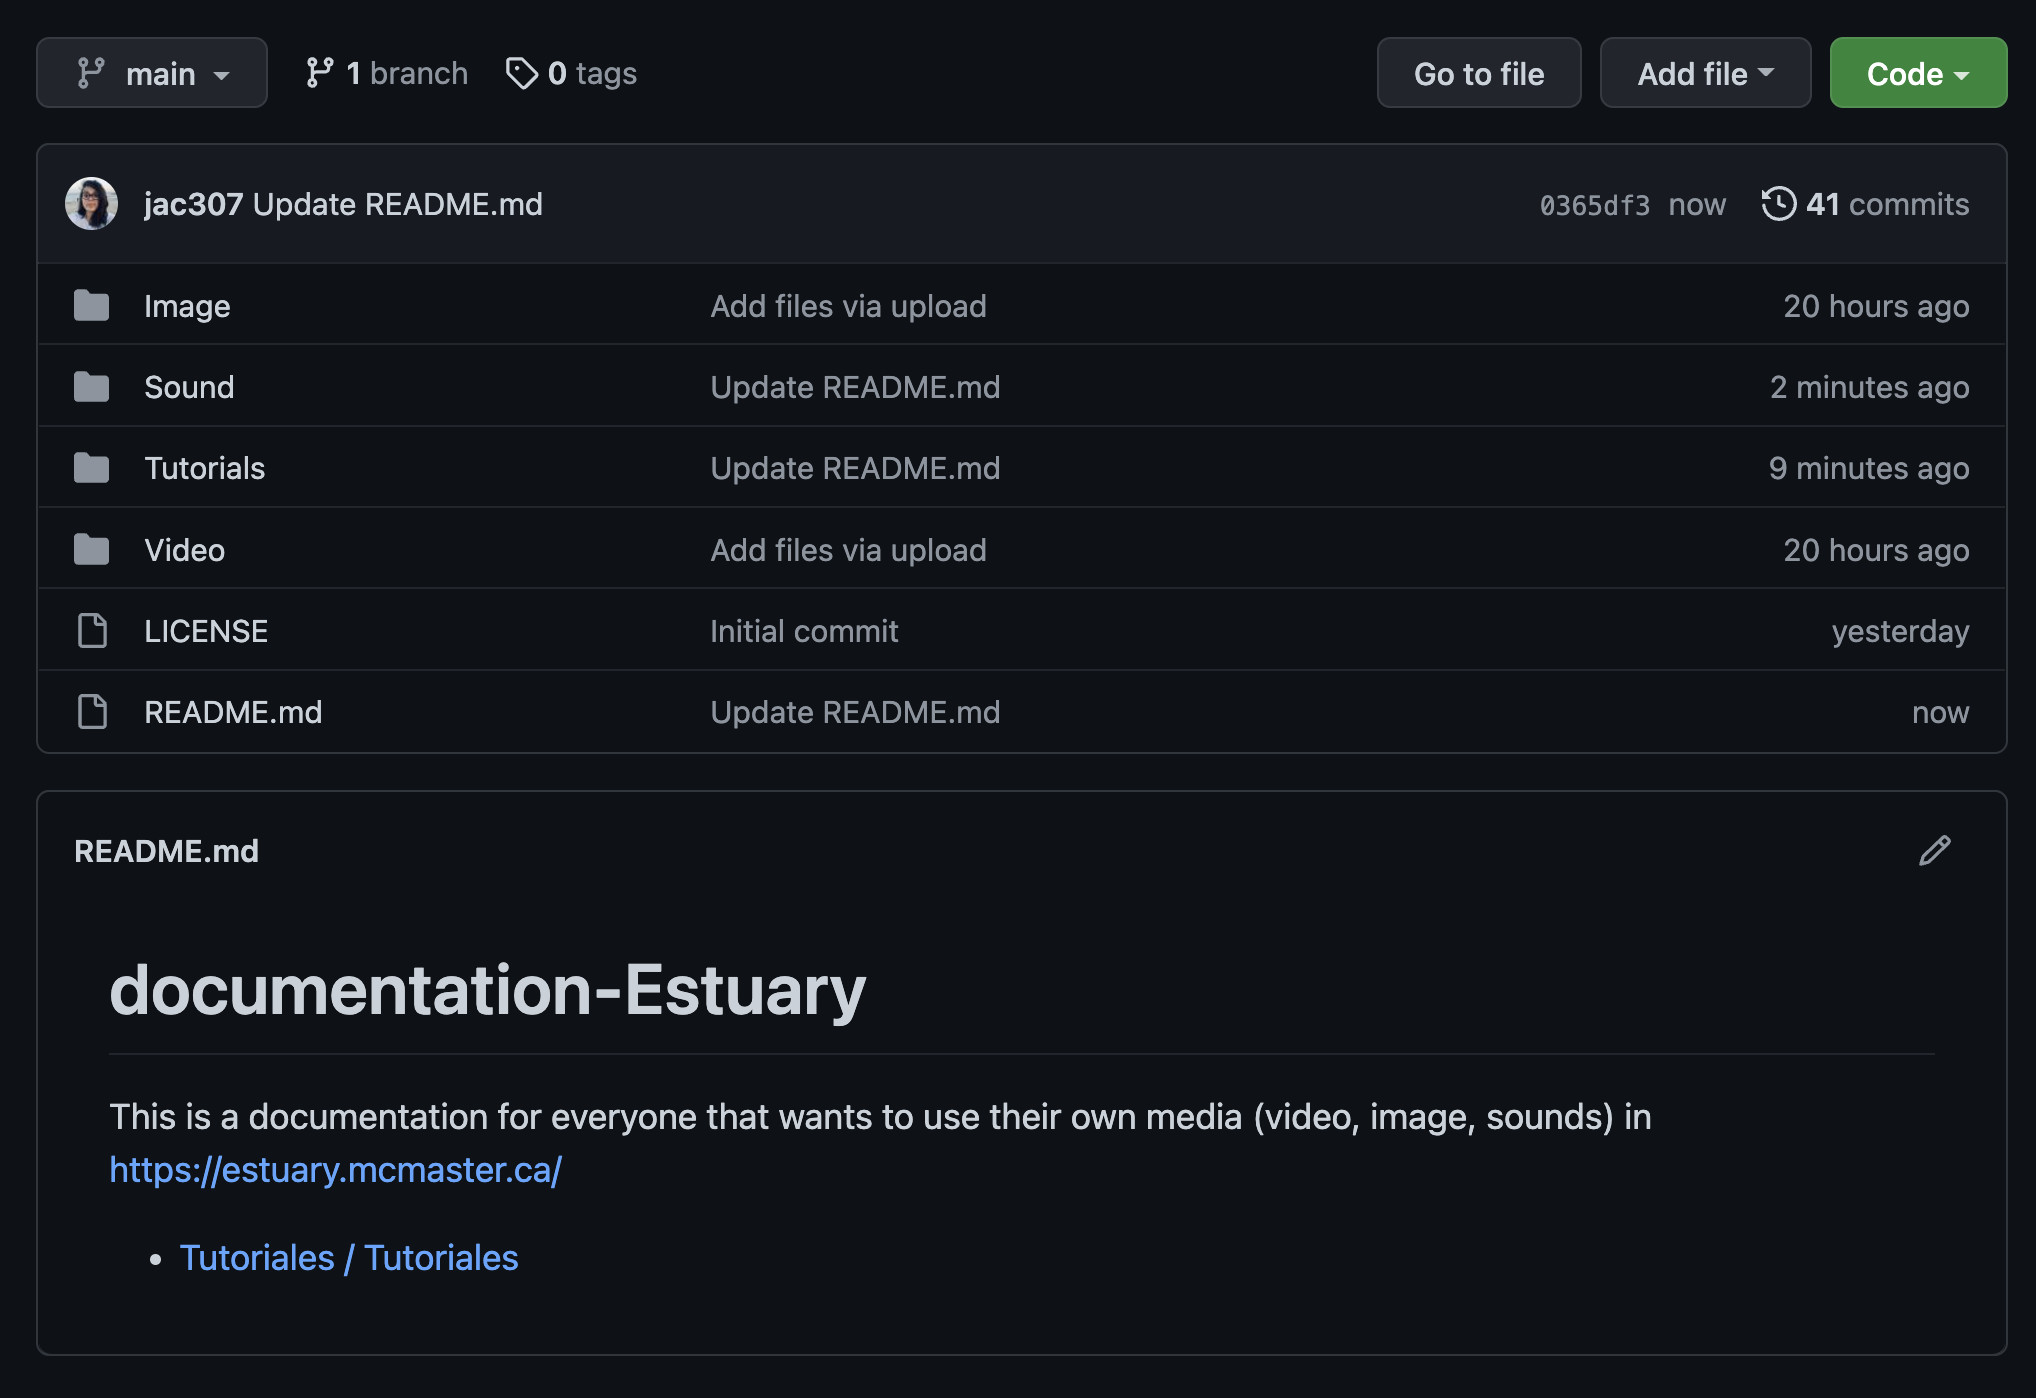
- If you have uploaded and created these files inside of a folder/sub-folder, go to the beginning of your repository.
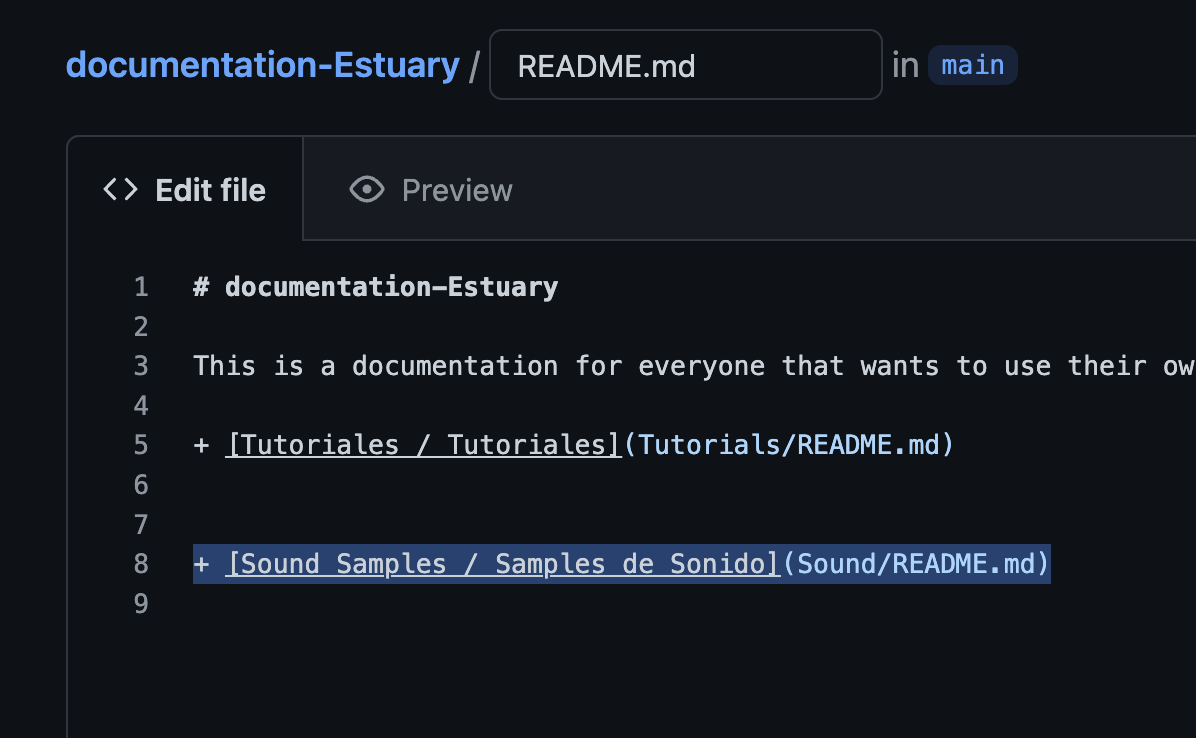
- Edit the README file there and add a link to your previous, Sound README file.
These steps are not necesarry if you have all your files in the main repo.
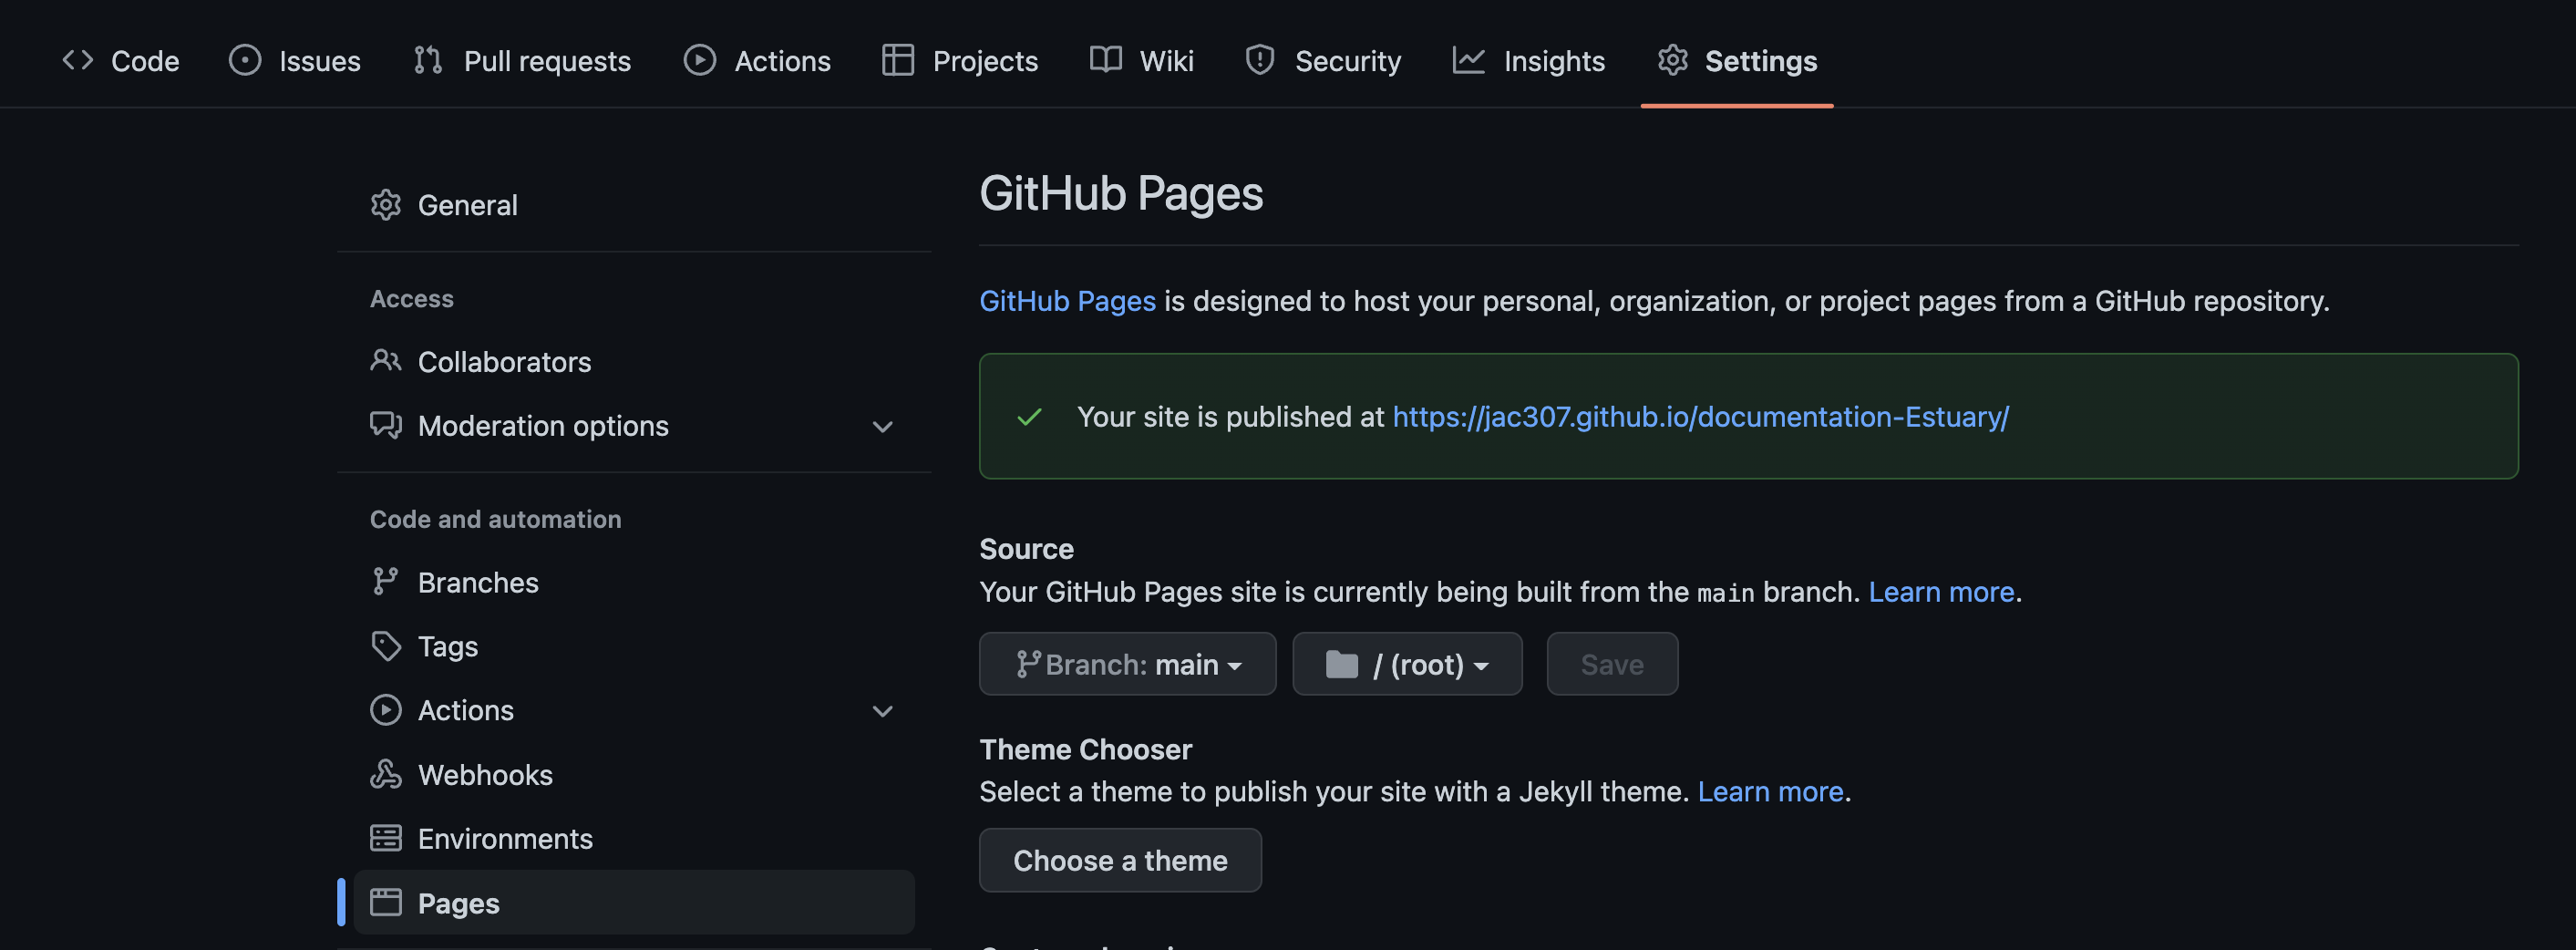
- Go to “Settings”, then “Pages”, click on the site’s url.
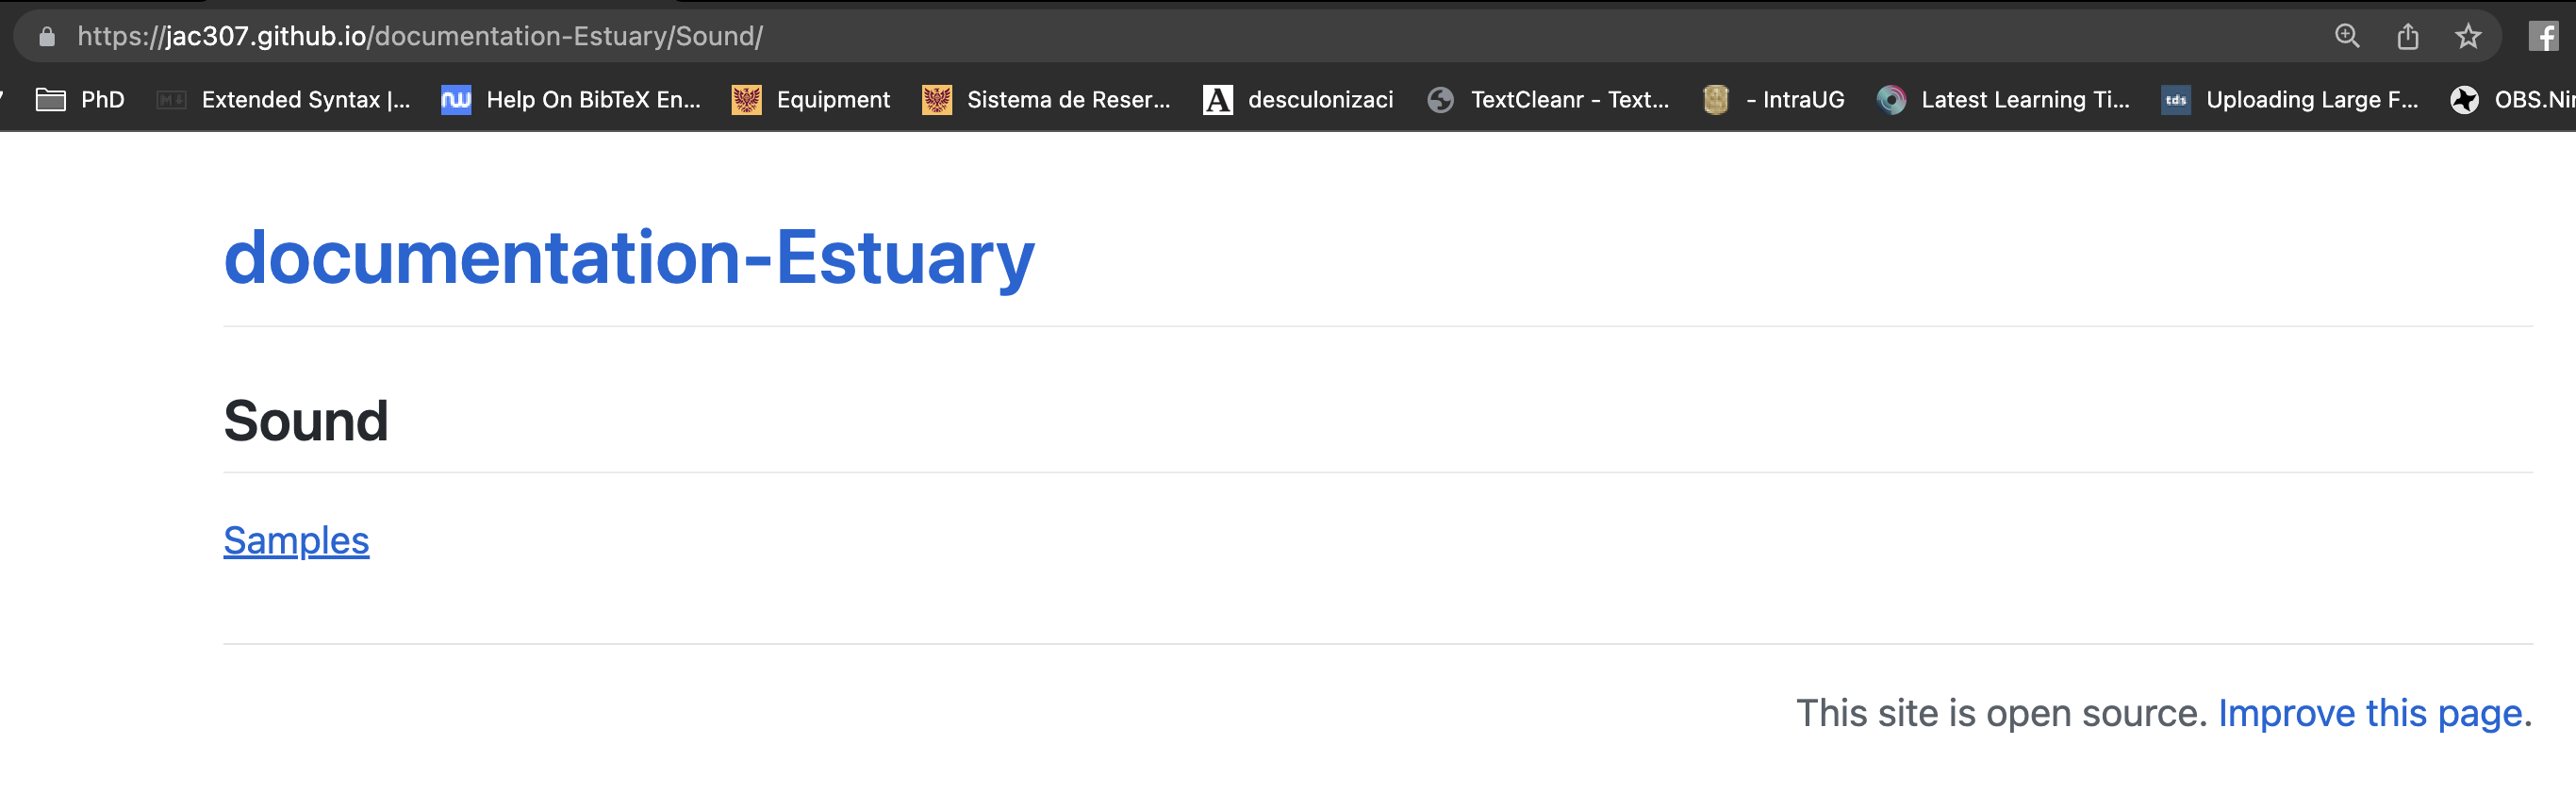
- Click until you get to your .json file / Dale click hasta entrar a tu archivo de .json.
In this example, I have to go to Sound Samples, then Samples.

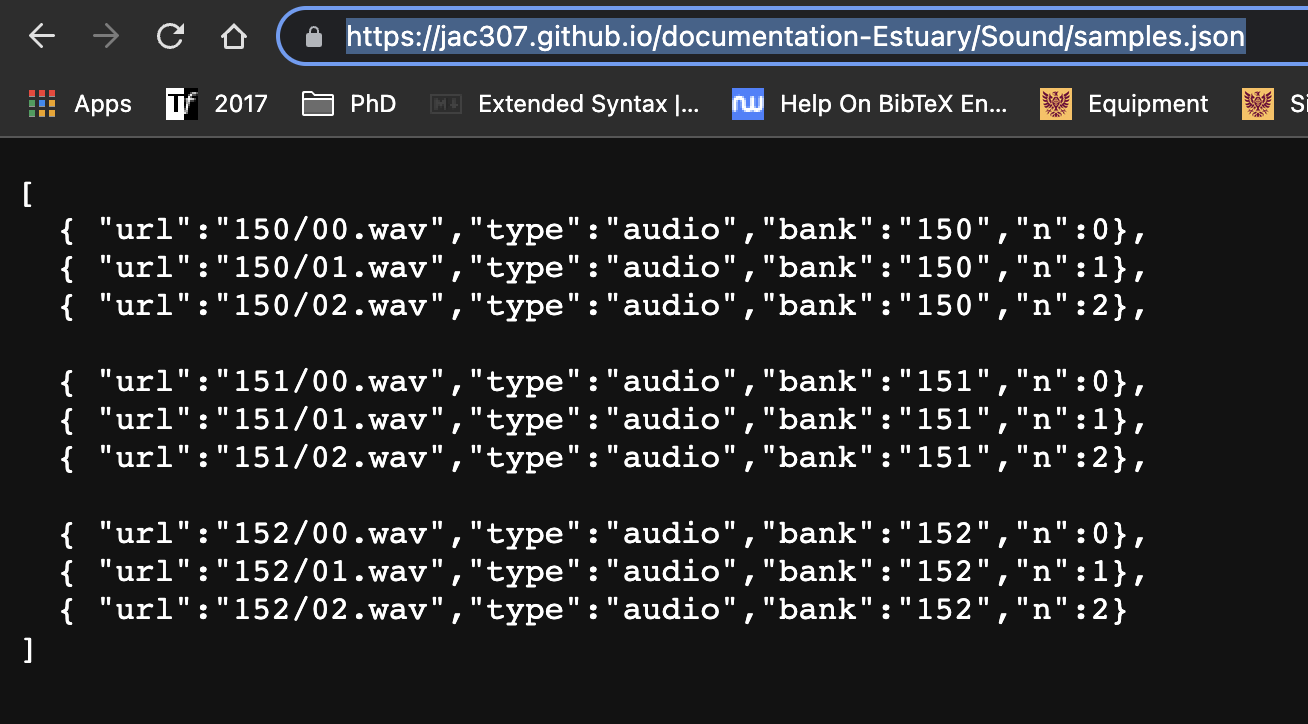
Something like this should appear.
- Copy the URL / Copia la URL.
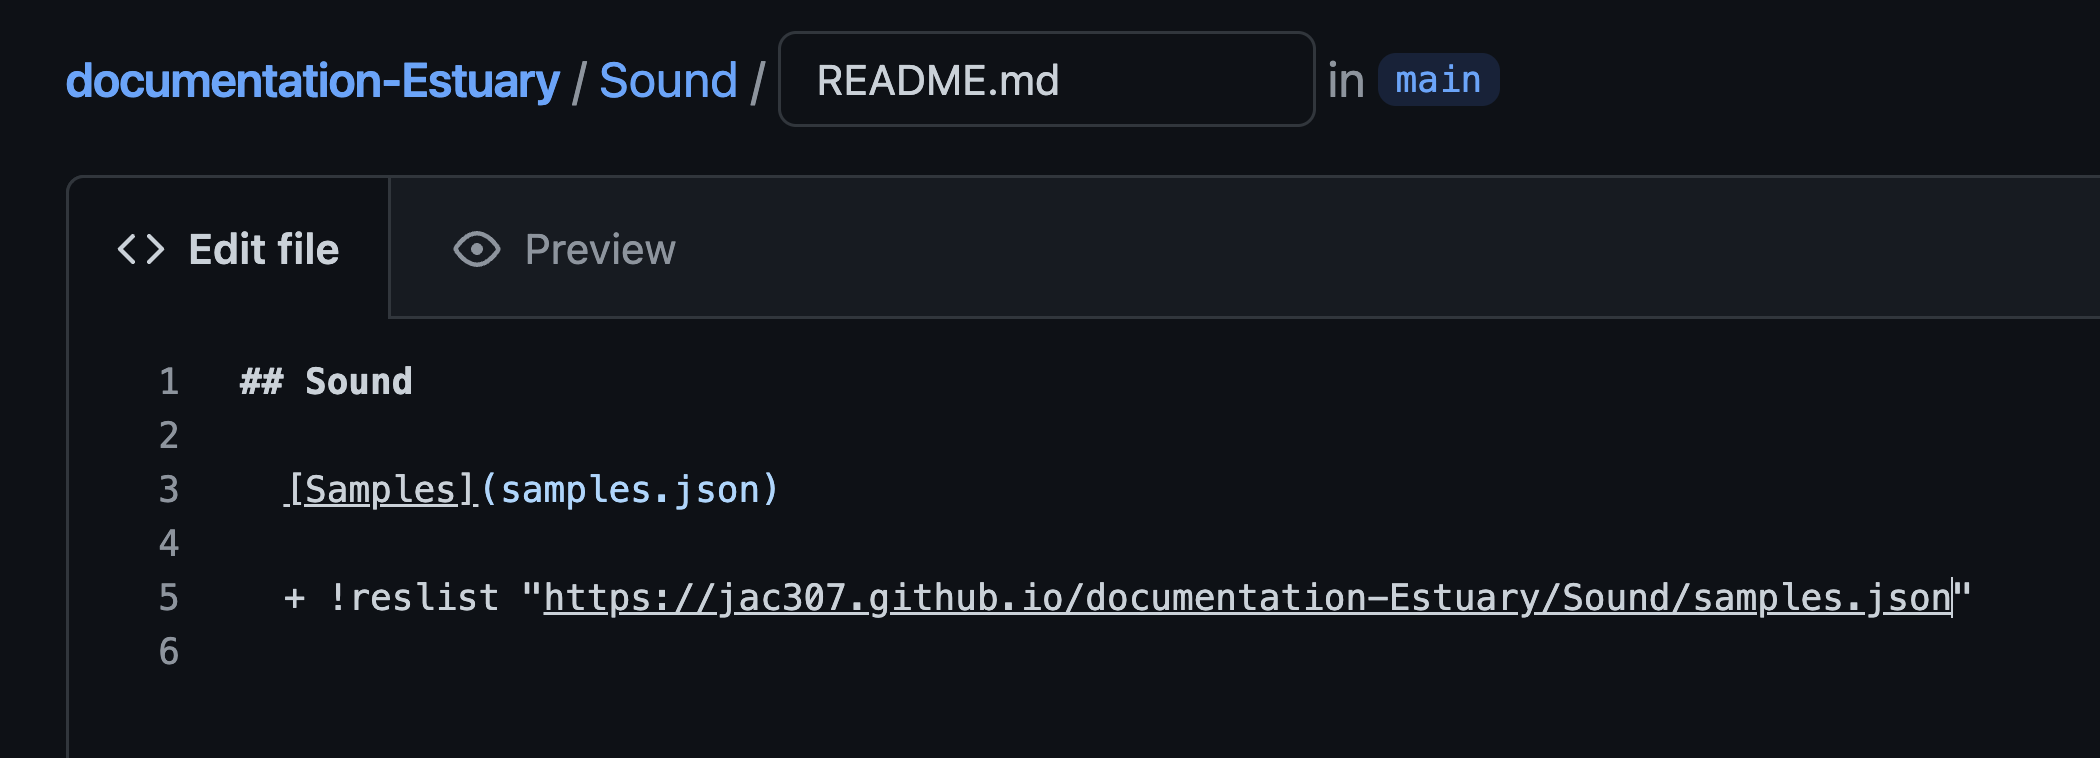
- Go to one of your README files (In this case, I will modify the README on Sound).
- Add the following:
!reslist "paste-url".
In this case, I also added some other information about the samples.
- Go to: Estuary
- Go into Solo Mode or enter an ensamble.
- In the terminal, send your
!reslist "pasted-url".

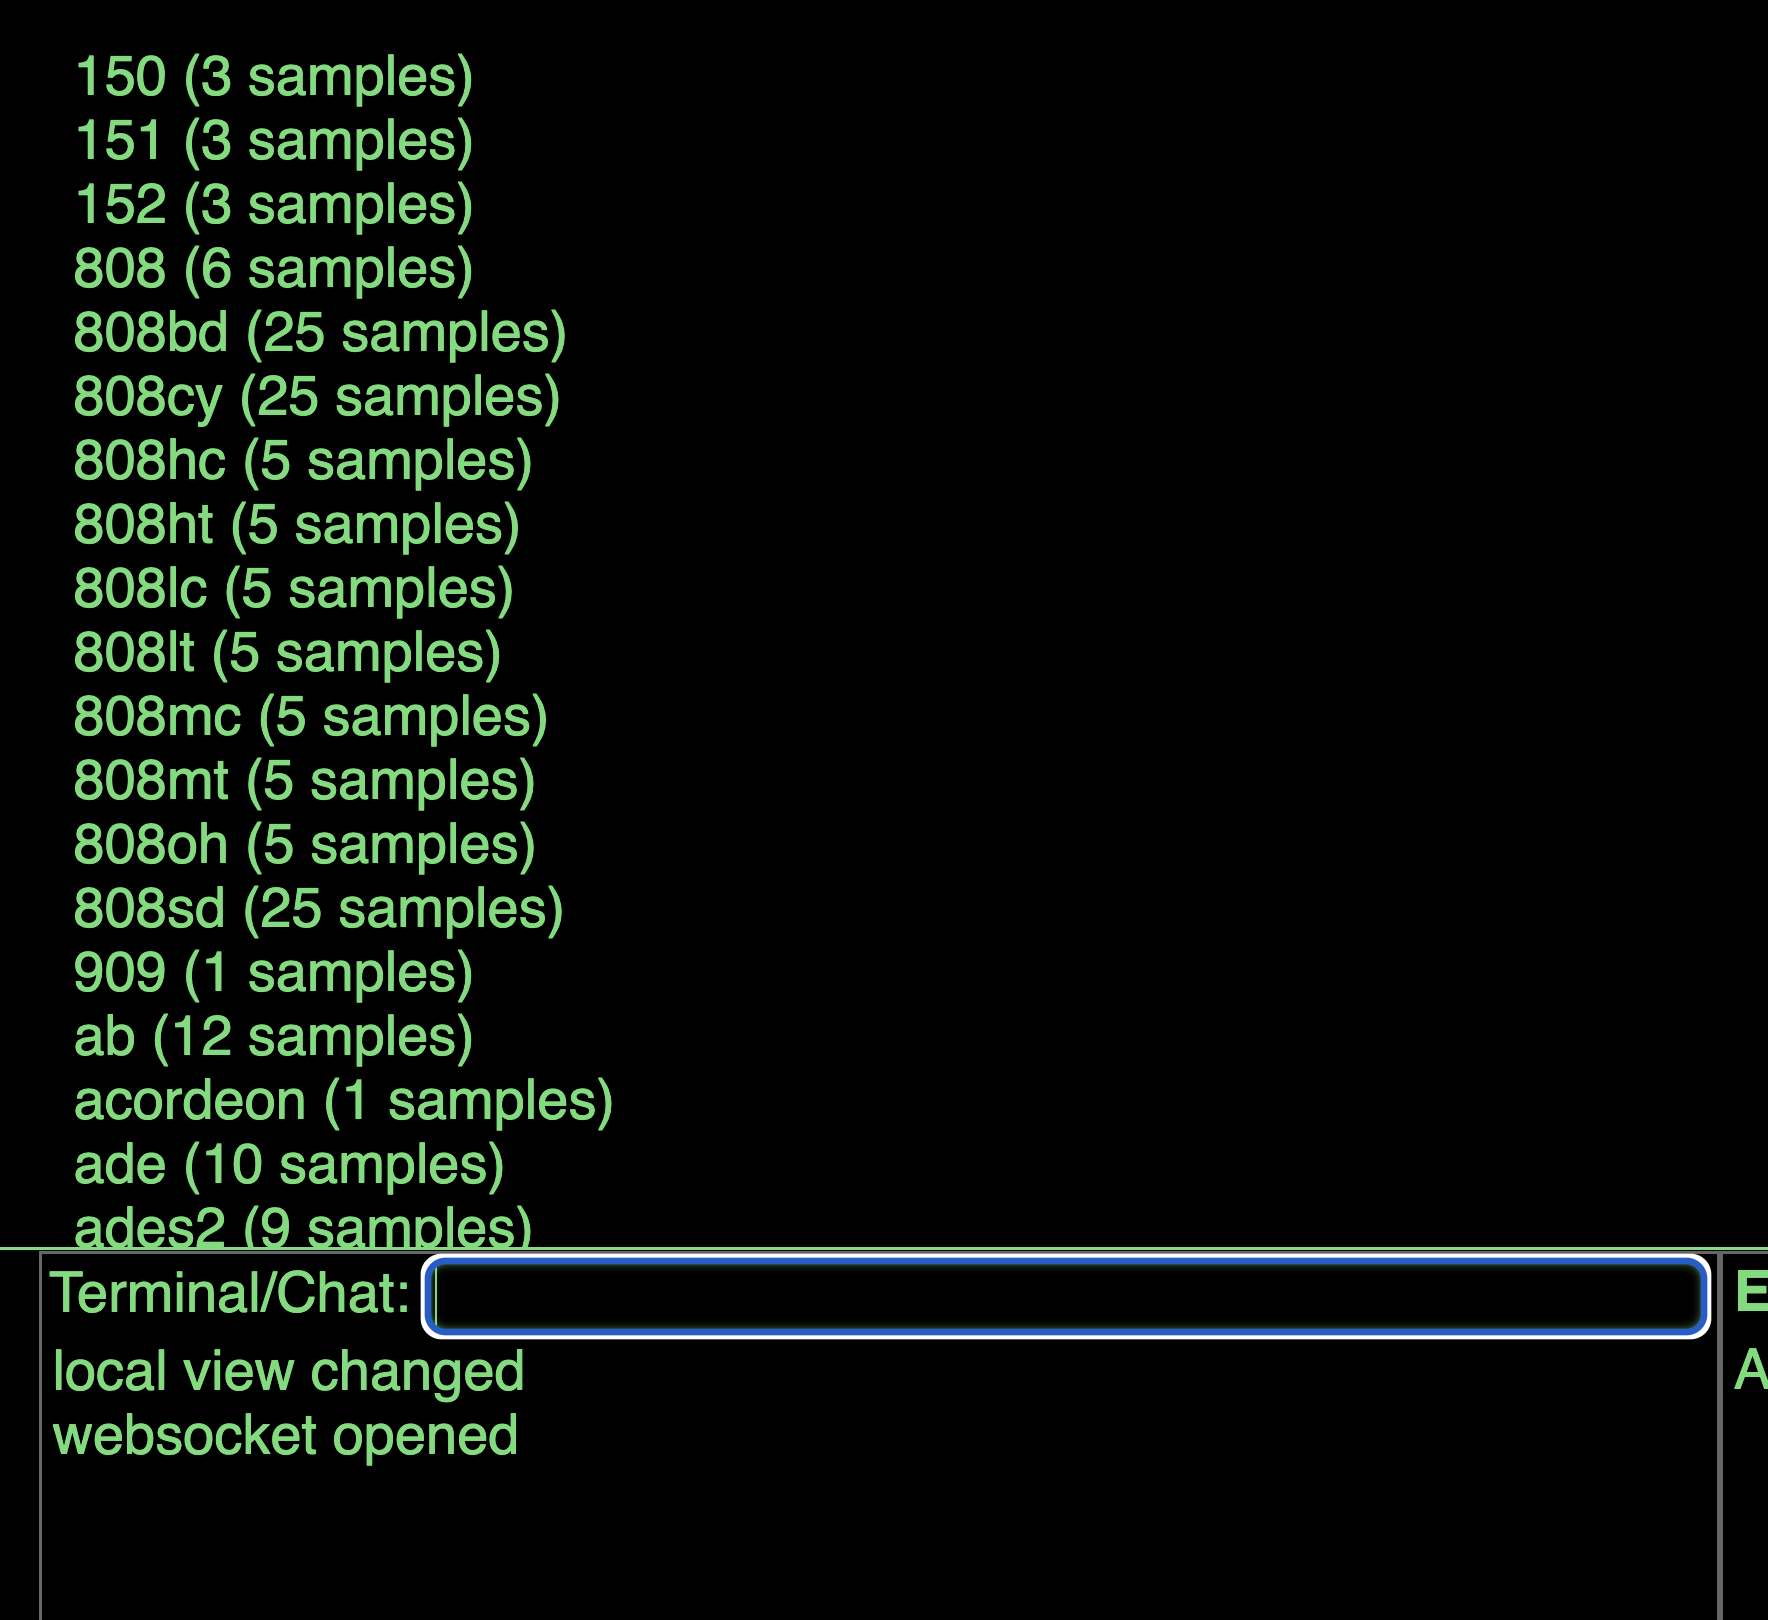
Now you can use your samples!
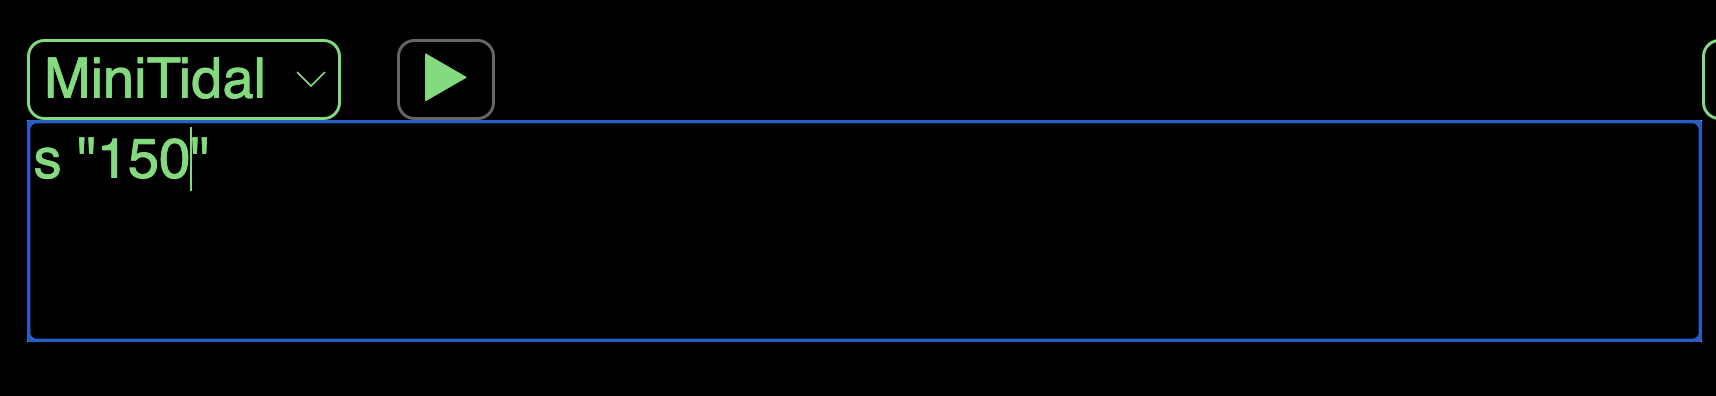

In Solo Mode, you will have to do this last step everytime you enter. In Collaborative/Ensamble mode, it should be saved.
En Modo Solo, tendrás que hacer este último paso cada vez que entres. En modo Colaborativo/Ensamble, se deberían guardar.